The Secret to DaVinci Resolve’s Global Collaboration Tools
Photo Moment - October 10, 2023
About a year ago, I embarked on a mission to create the perfect DaVinci Resolve editing system and workflow — one that transcends the limitations of platforms and geographic locations. Today, I believe I've come pretty close to achieving that goal with what I call my Global Collaborative Workflow. This editing system enables seamless collaboration with editors worldwide, regardless of their location or the devices they use.
Products Mentioned
- 🎞️ DaVinci Resolve Studio
- 🔴 Blackmagic Cloud Pod
- 🔴 Blackmagic Cloud Store Mini
- 🔴 Blackmagic Cloud Store
- 🟡 10Gbps Network Switch Netgear XS505M
- 🟢 Synology NAS RS1221+
- 🟢 Synology 10Gbps card E10M20-T1 for RS1221+
- 🔵 Dropbox
Objectives of the Perfect DaVinci Resolve Global Collaborative Editing System
- Global Accessibility: My primary goal was to allow editors, including myself, to access projects and media from anywhere in the world with minimal effort. The result? A system that is entirely platform-agnostic, be it Mac or PC, desktop, or laptop.
- Local Performance: Working with high-resolution footage, I couldn't compromise on local performance. The system had to handle multicam 4K ProRes and 6K RAW footage efficiently.
- Automated and Fast Backup: An automated and swift backup system was crucial. Waiting for media to back up the day after a shoot was not an option. And, the backup needed to be both on-site and off-site.
- File Accessibility: I wanted access to all my files, including originals, from anywhere in the world. No more scenarios where a needed file is sitting on a distant hard drive with no immediate access.
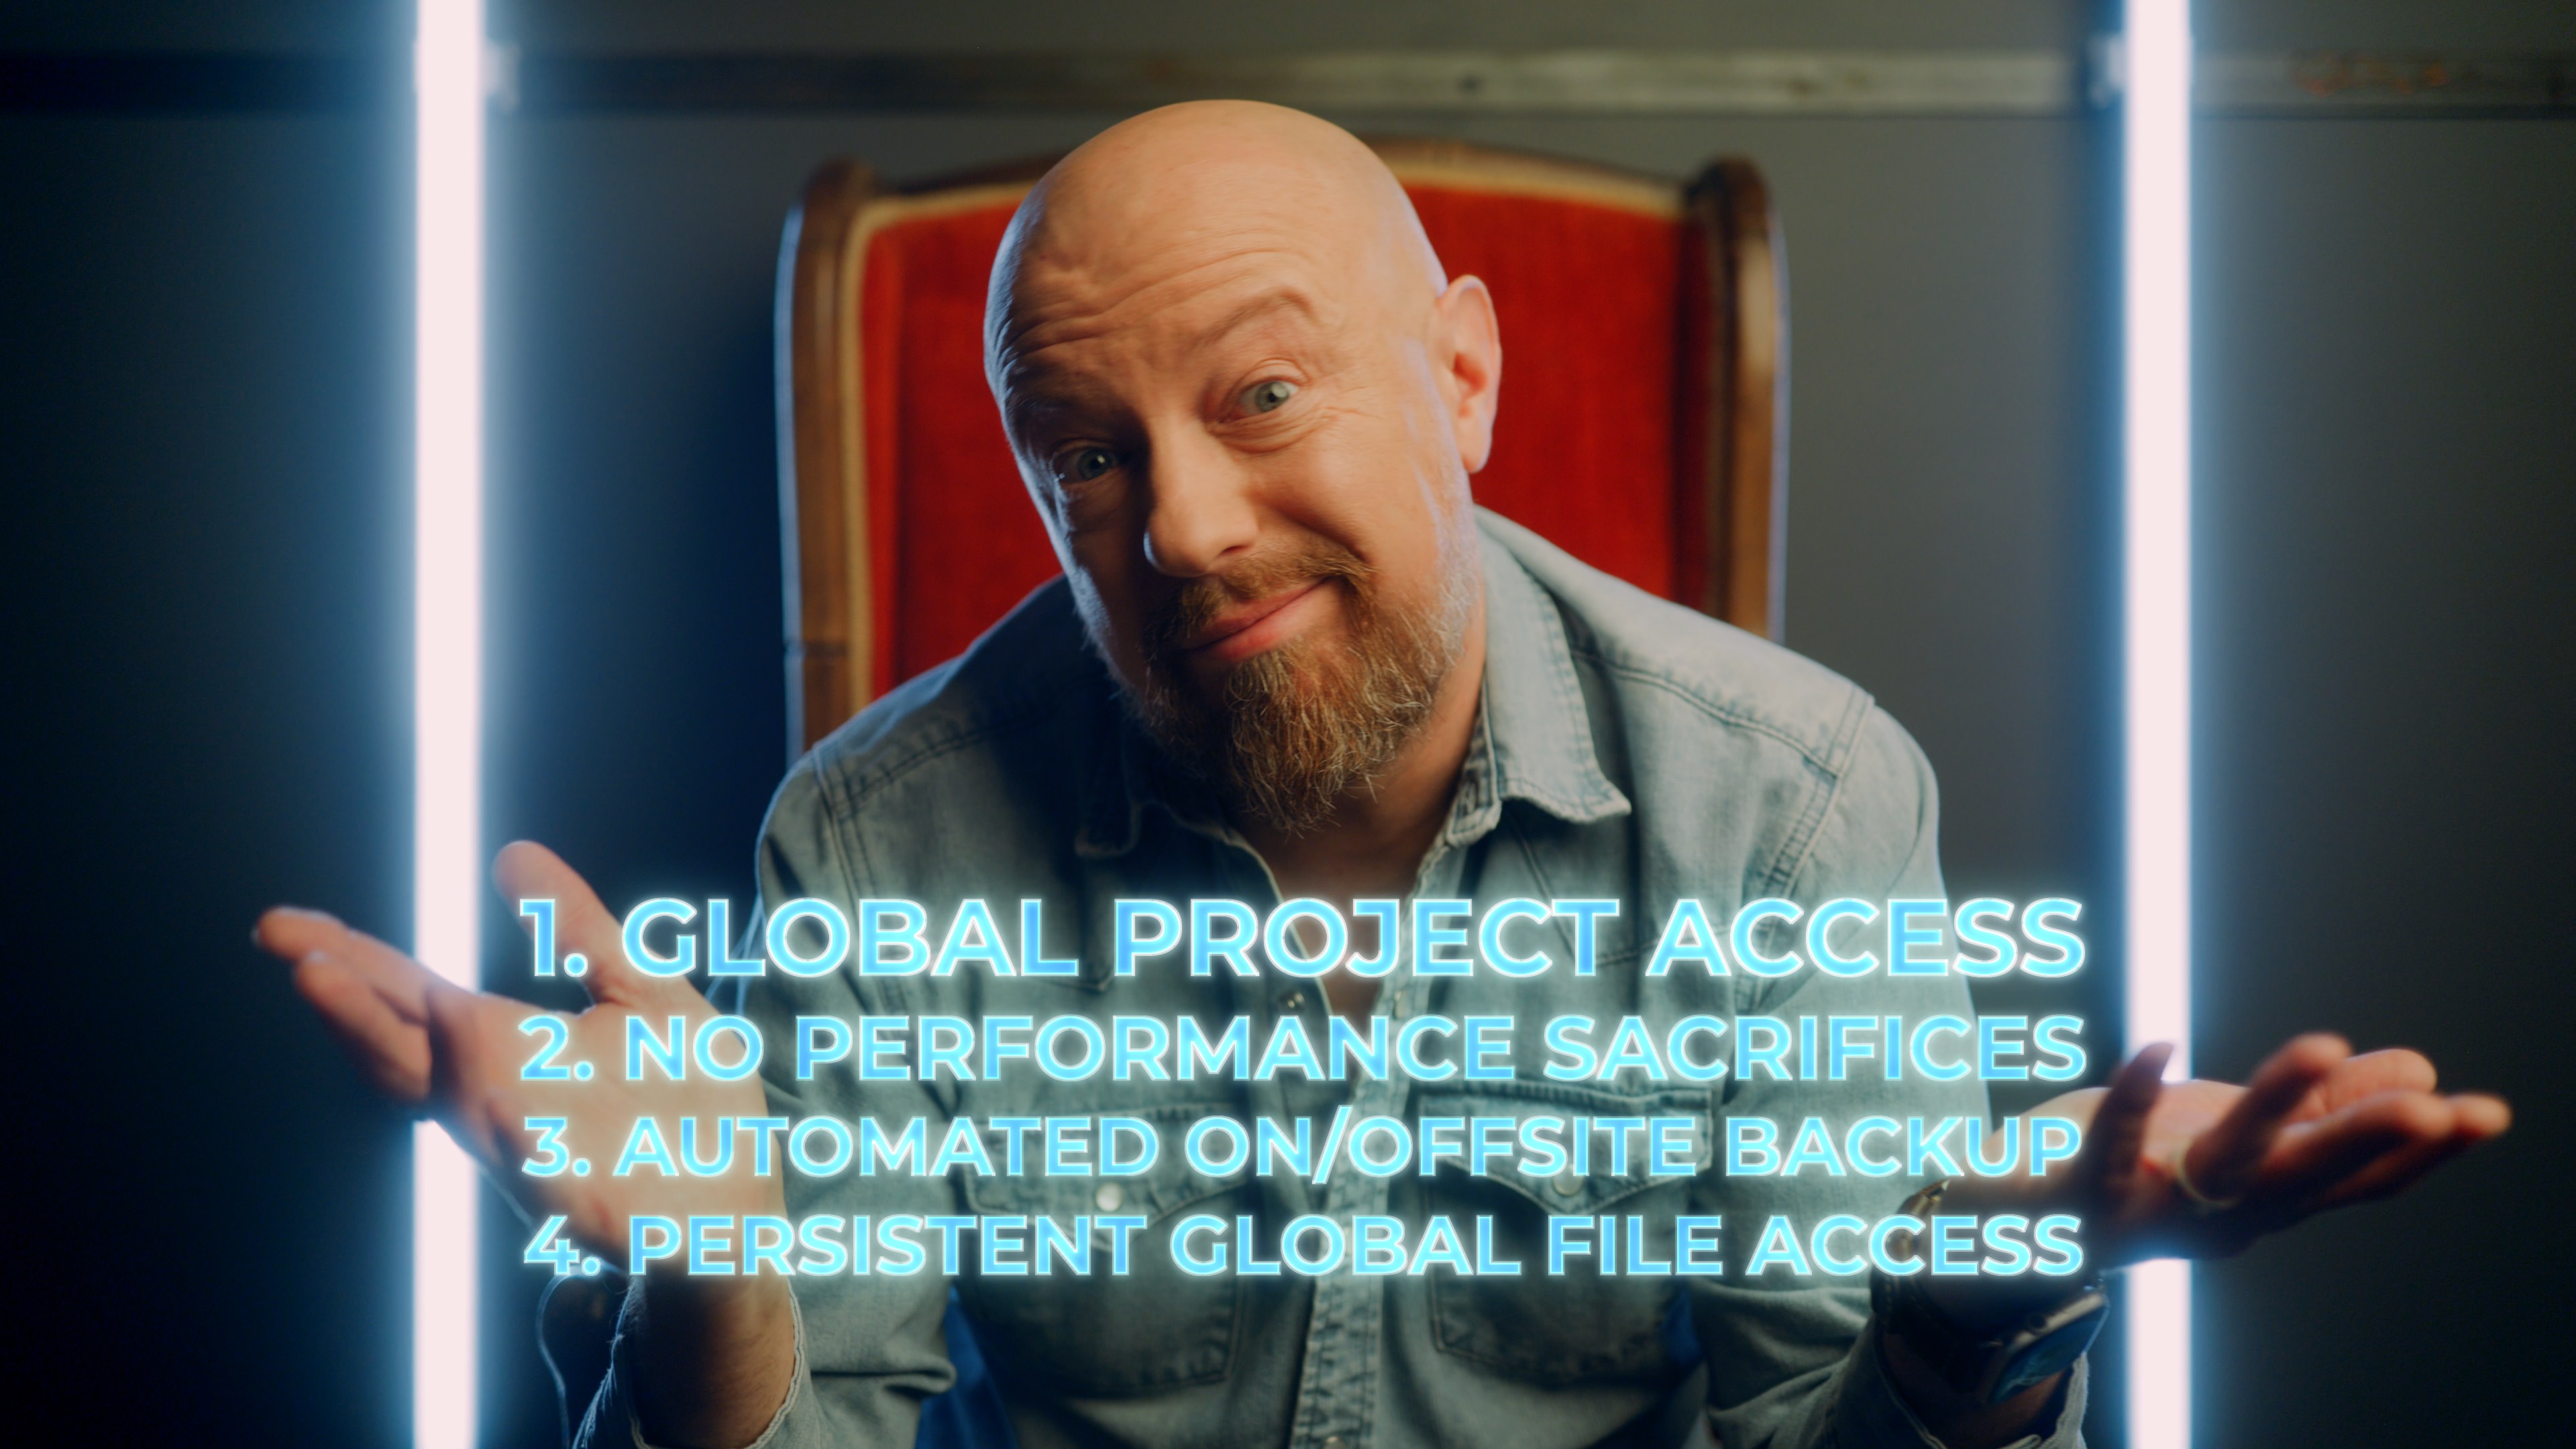 The four things I demanded in my DaVinci Resolve “Global Collaborative Workflow”
The Global Collaborative Workflow
Blackmagic Cloud Project Server
With the release of DaVinci Resolve 18, Blackmagic introduced the Cloud Project Server. This cloud-based project server allows access to projects from anywhere with an internet connection. No server setup is needed—just create an account, log in, and start collaborating. The cost is a mere $5 per month for a project library, accommodating multiple projects and collaborators without additional charges.
However, there's room for improvement. Project-level restrictions and automated backups are areas that need attention. The absence of an offline mode can be limiting for those without constant internet access.
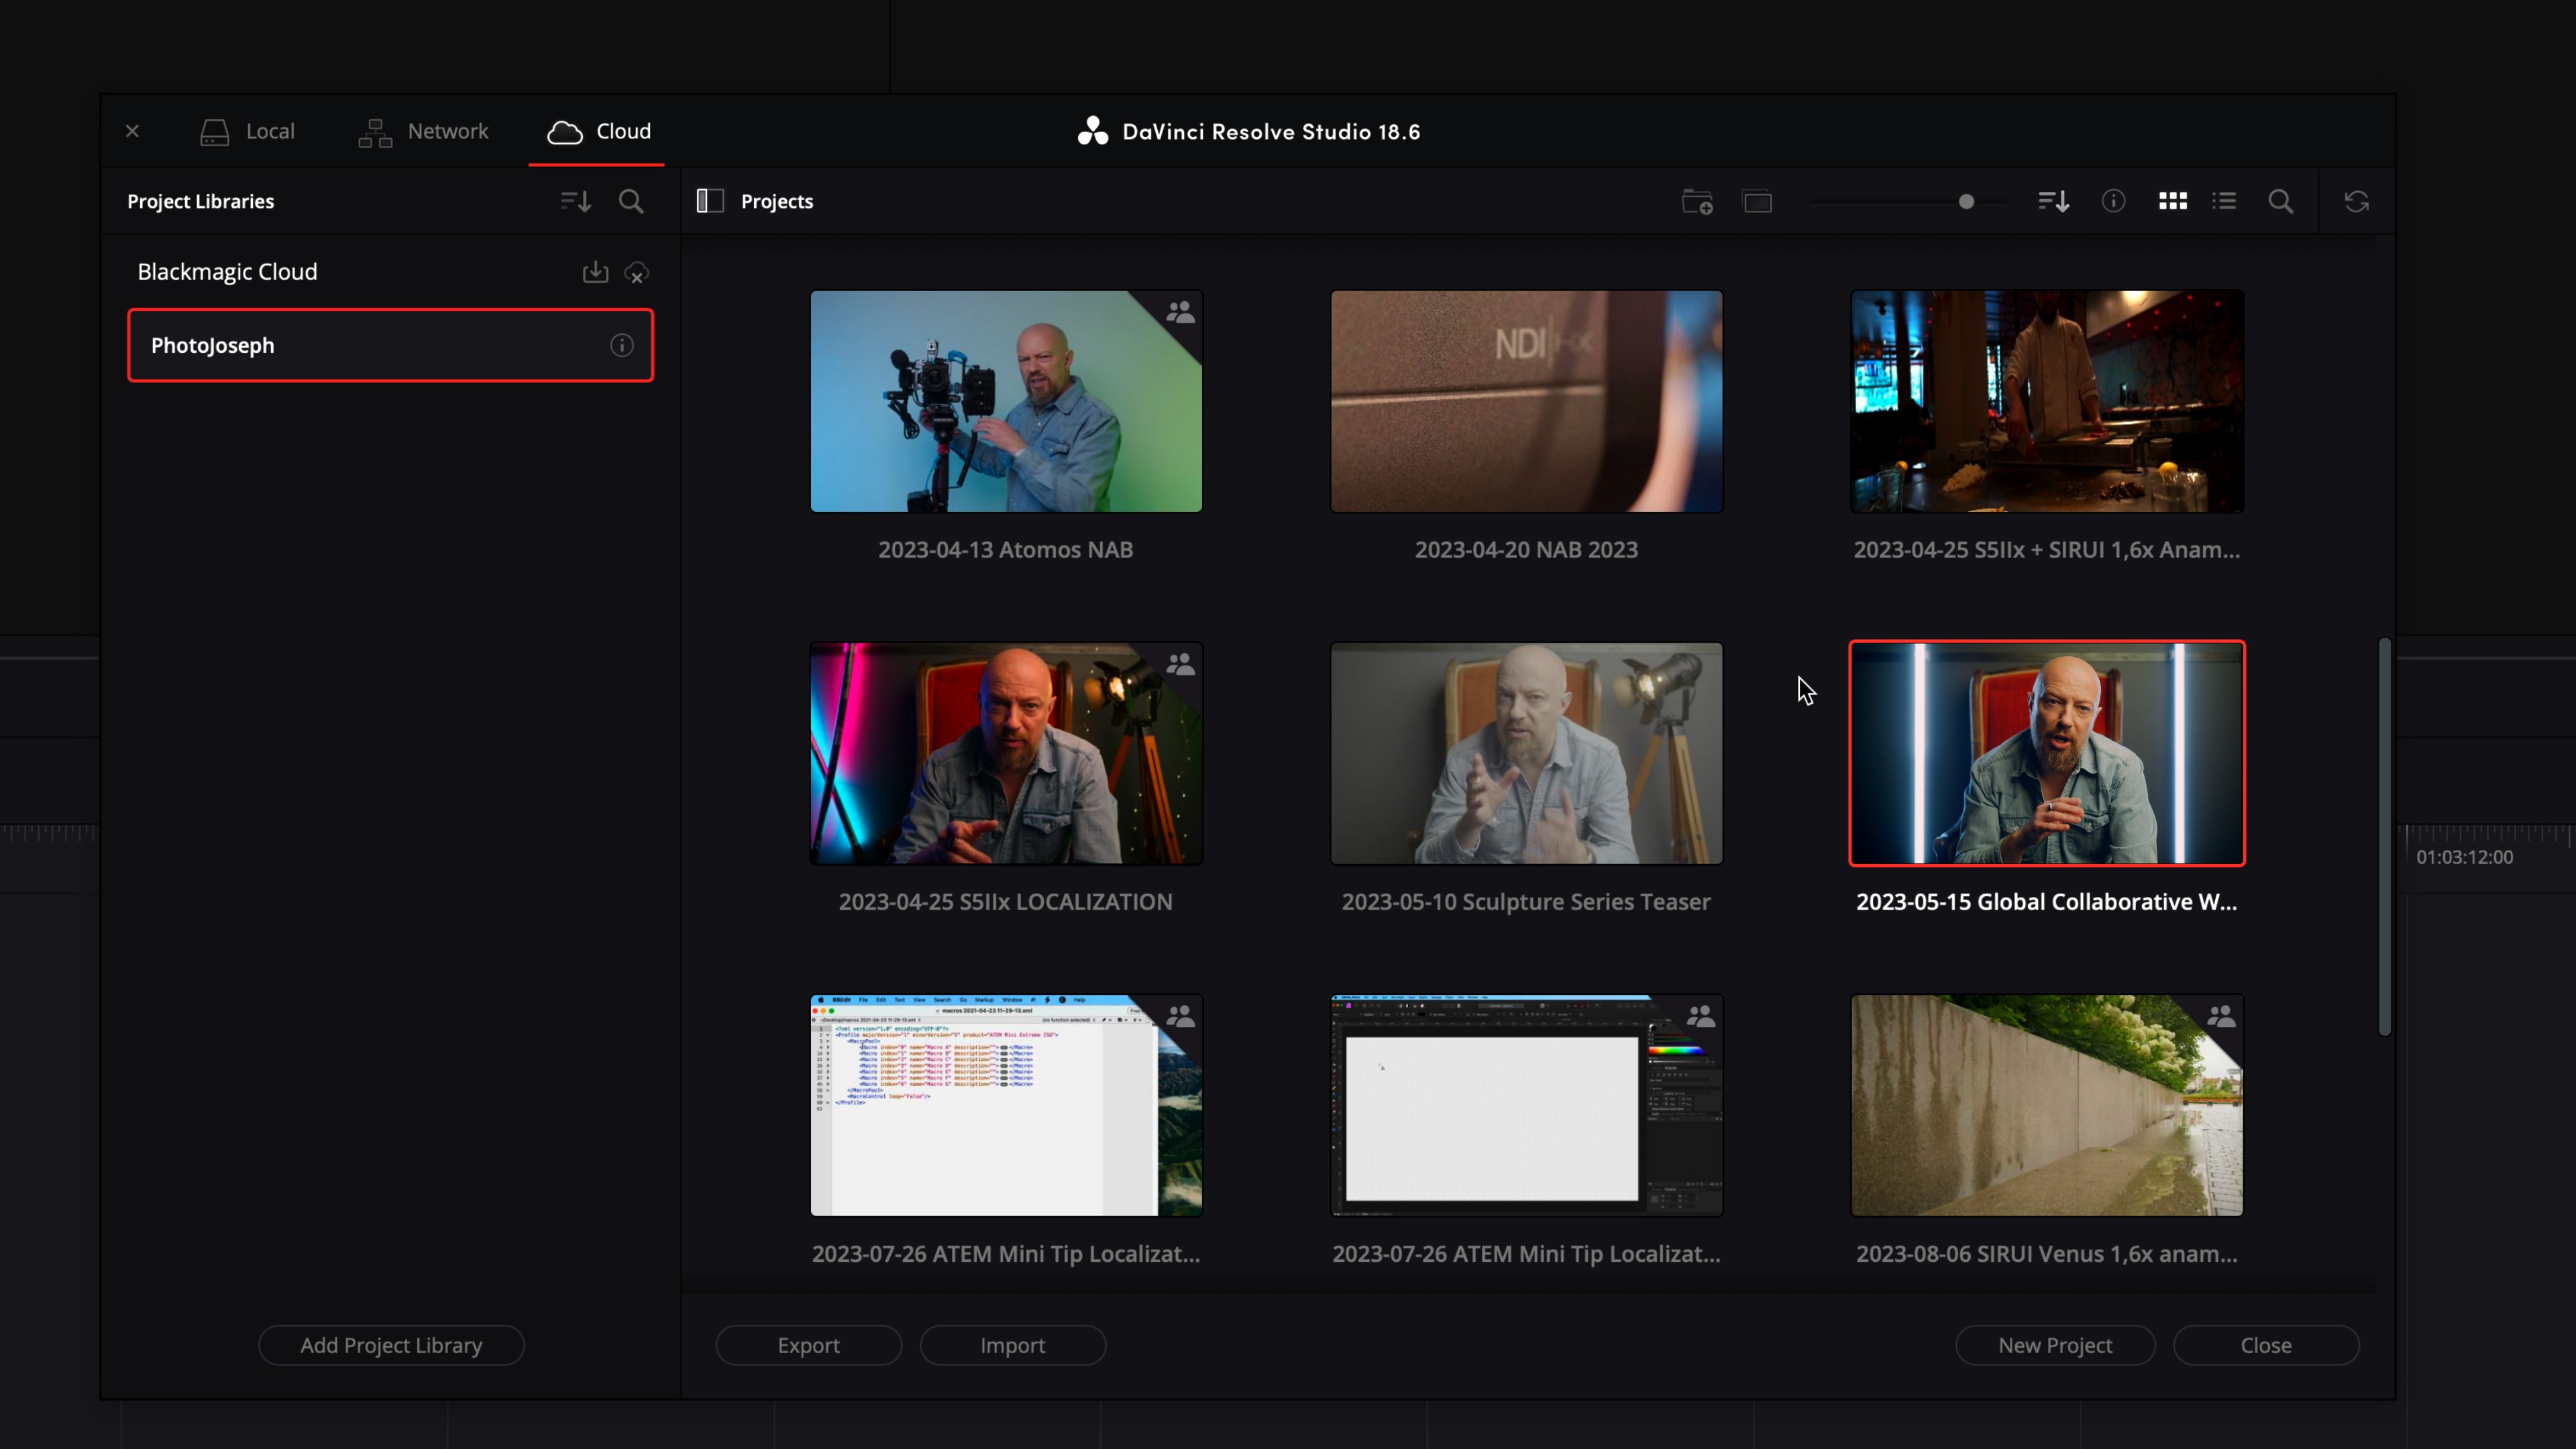 DaVinci Resolve Cloud Library interface
Blackmagic Cloud Store
Media is efficiently managed by the Blackmagic Cloud Store, acting as a 10 gigabit NAS. Despite being able to use any fast NAS, the Cloud Store offers unique conveniences, such as syncing proxy video only, plus all types of non-proxy-able media (audio, graphics, etc.) to Dropbox or Google Drive.
Various Cloud Store models are available, with the Cloud Pod being a cost-effective, BYO storage solution. The Cloud Store Mini, which I use, boasts eight terabytes of NVME storage and a ten gigabit network connection. For larger-scale needs, there's a model configurable up to 320 terabytes.
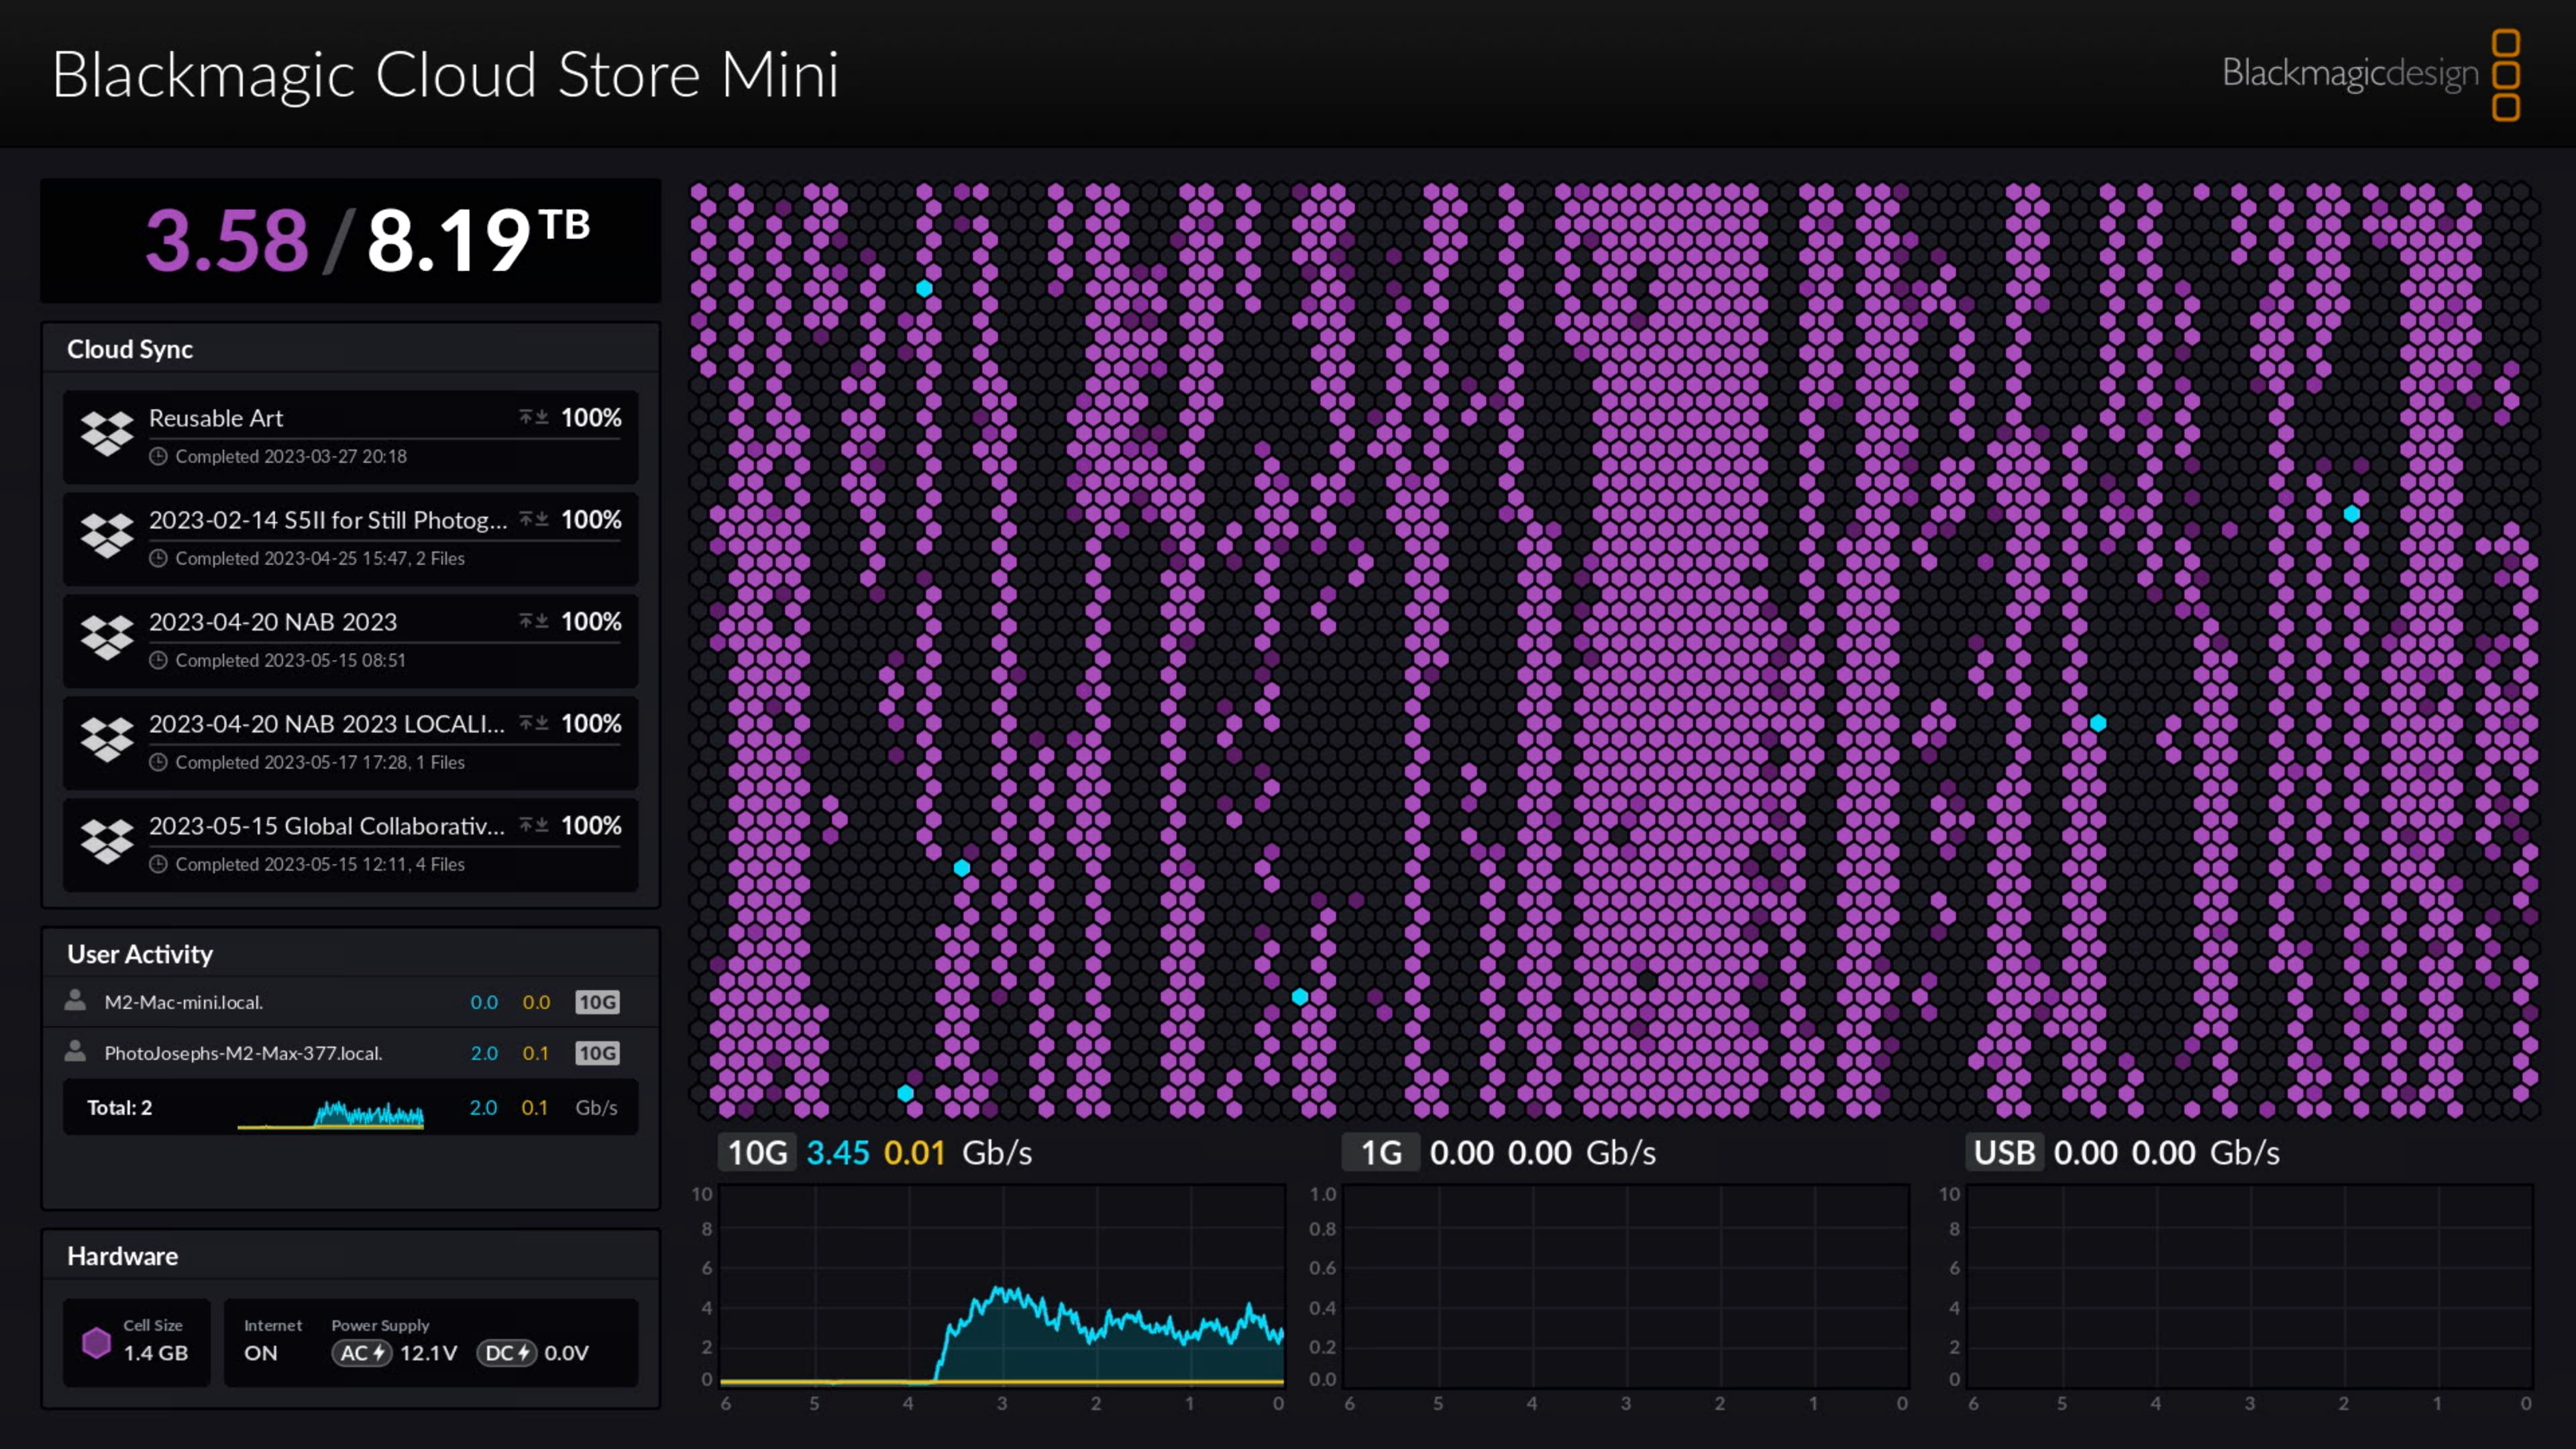 Blackmagic Cloud Store Mini monitoring interface
Synology NAS for Comprehensive Backup
To complete the backup puzzle, I use a Synology NAS RS1221+ with a ten gigabit card installed. Configured in RAID 6 with eight 16-terabyte drives, it offers high-speed storage and robust data protection. A Netgear XS505M 10Gbps network switch brings everything together at maximum performance.
The Synology NAS provides a nightly backup of the Cloud Store, manages overflow media, and serves as a local backup. For a comprehensive backup strategy, Synology Drive ShareSync or Cloud Sync can be employed to synchronize data to another NAS or a cloud service like Dropbox.
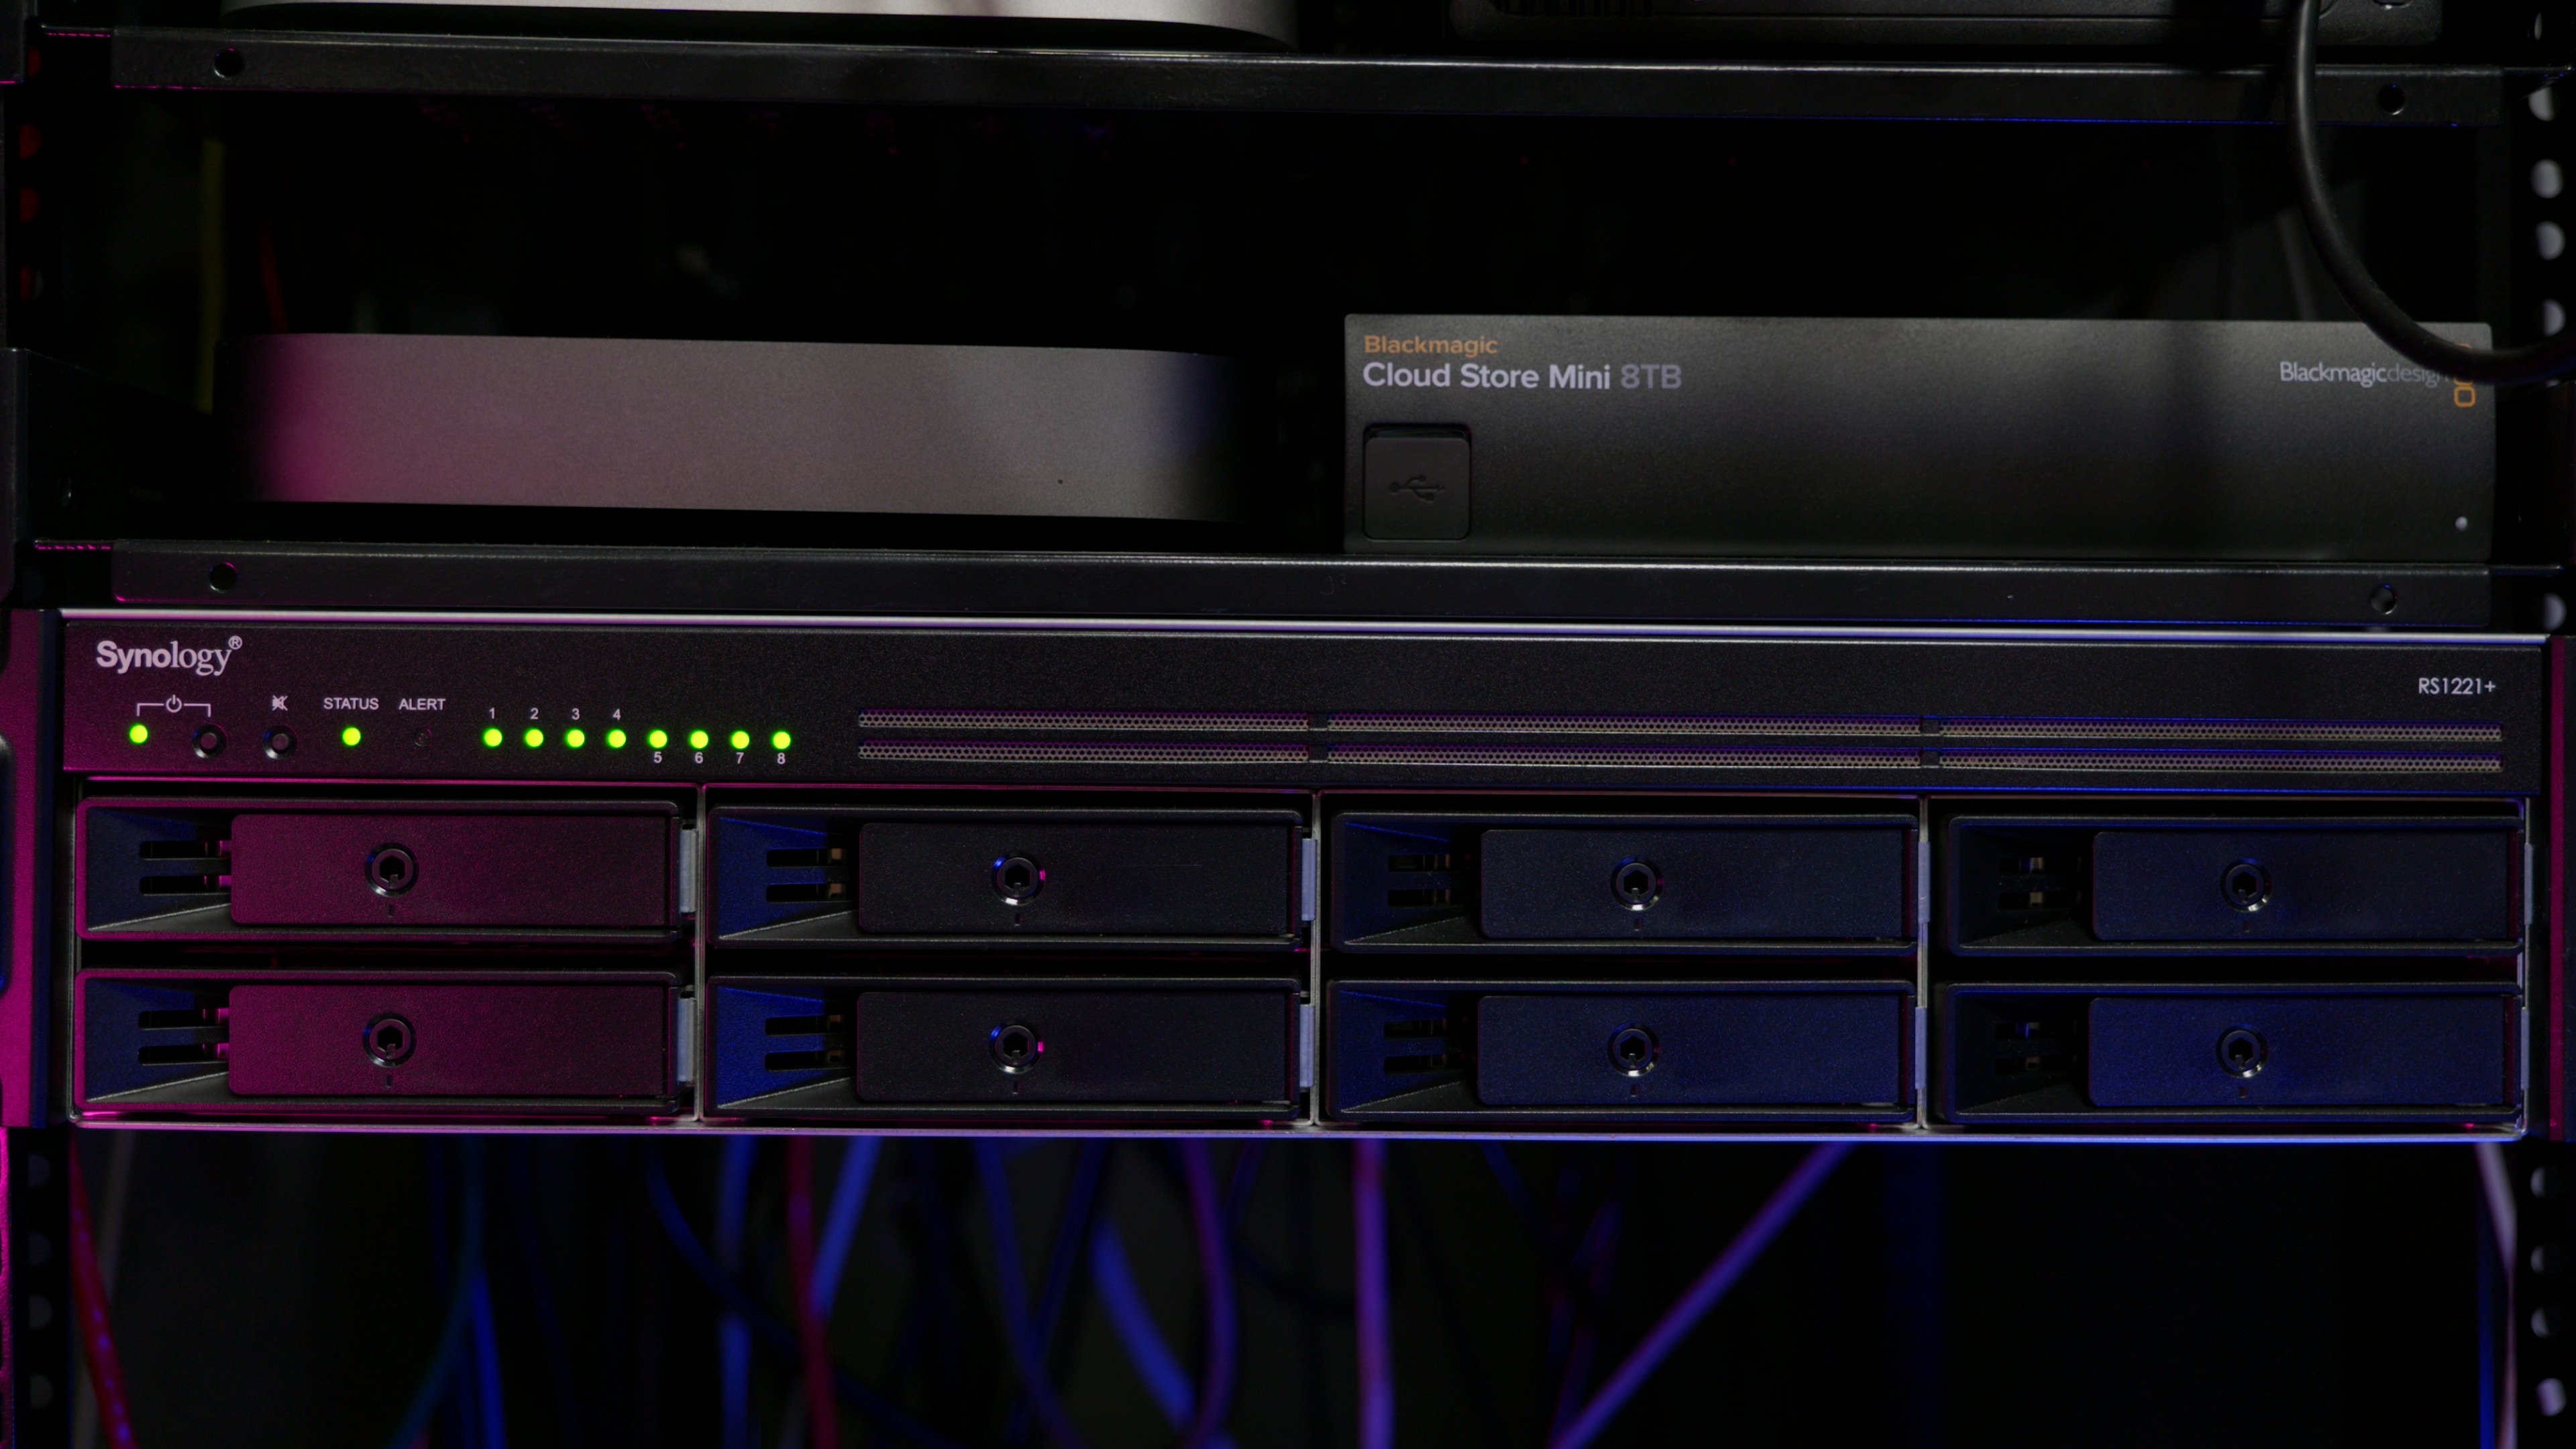 Synology NAS RS1221+, RAID 6 with eight 16TB drives
Achieving Persistent File Access
The final piece of the puzzle is persistent file access. Logging into the Synology from anywhere in the world allows browsing and downloading of files. Additionally, Dropbox ensures selective sync, enabling access to files on-demand directly on my computer.
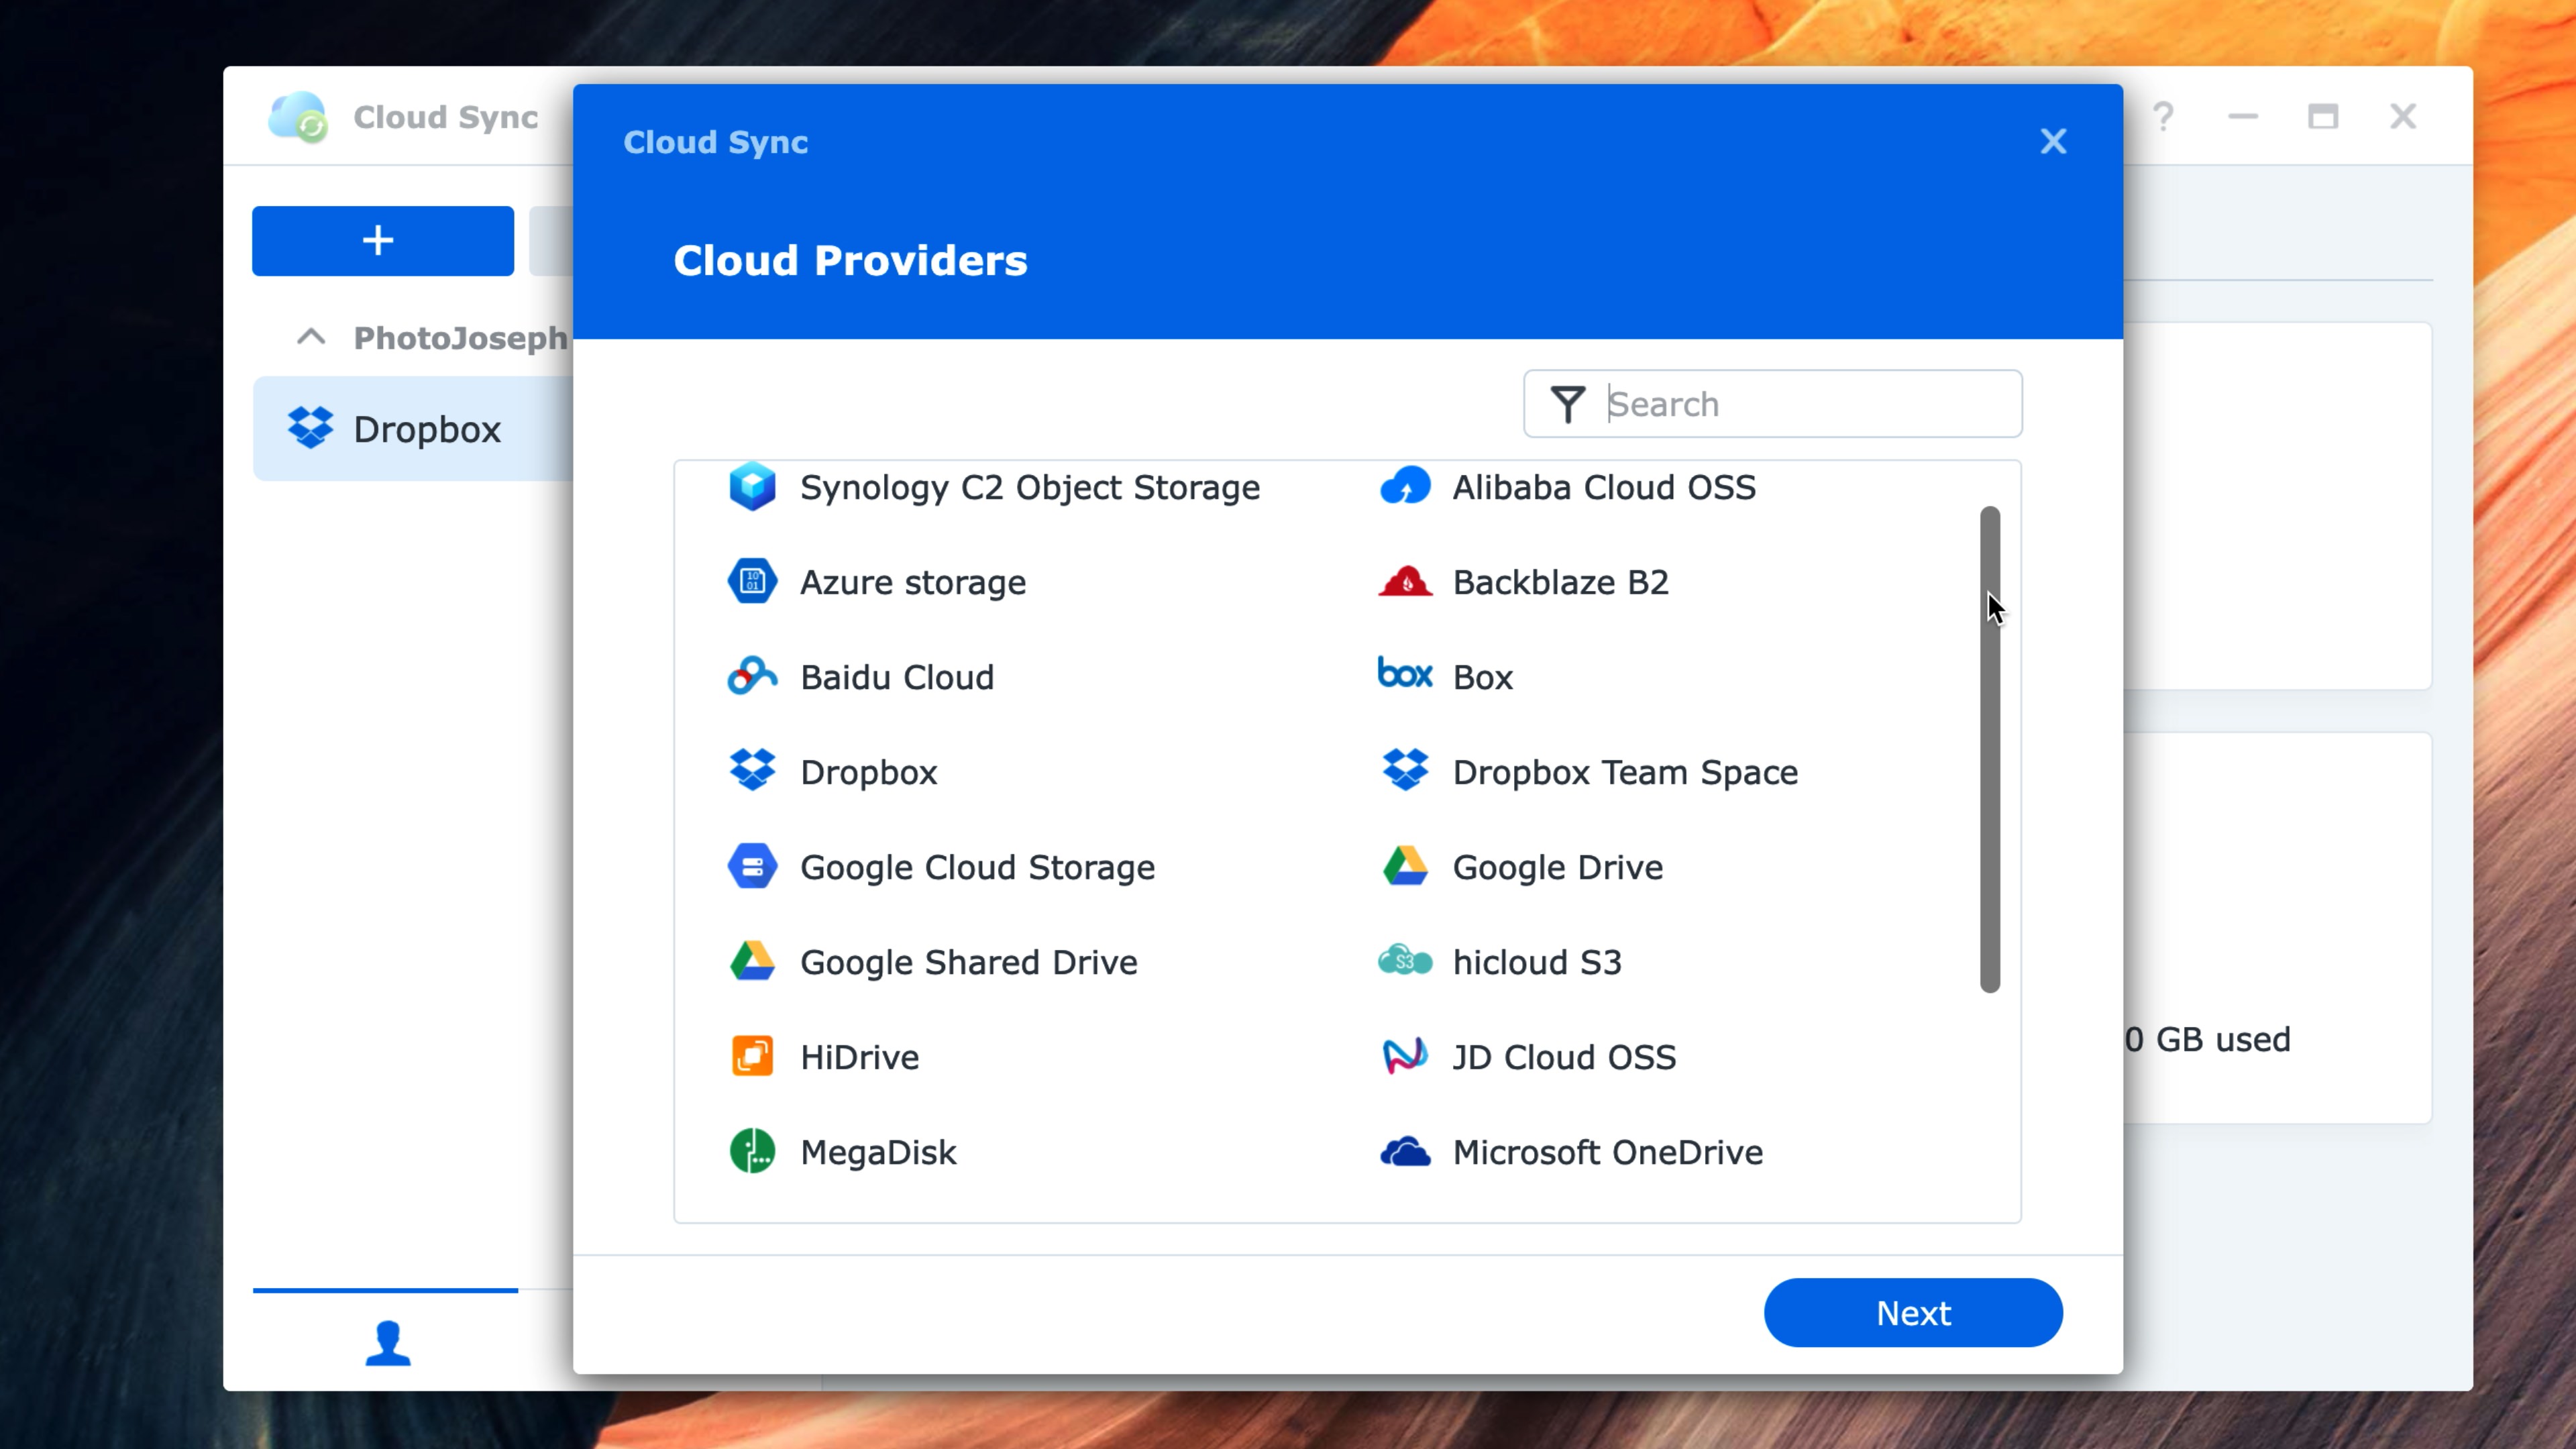 Synology NAS RS1221+ Cloud Sync Options
In conclusion, this Global Collaborative Workflow has transformed my editing process. Collaborating seamlessly with editors worldwide, maintaining high local performance, and ensuring robust backup and file access, it's a system that comes close to perfection.
While there are areas for improvement, the overall functionality and efficiency make it a nearly perfect solution for my editing needs.
🎧 Music in this Video
The music is from MusicBed! Get your first month free when you purchase an annual subscription by using my coupon code PHOTOJOSEPH at checkout! https://geni.us/MusicBed
🔗 More links you seek
📄 Full Video Transcript
Here is our work flow:
We have the project in the BM cloud.
All editors have local copies of the proxy media.
They open the project in the cloud then I have a smart filter to show all media that have a proxy.
THE PROBLEM
There is no button for relink proxy media with smart filters.
If you go to the file location there is a option but then you will need to manualy relink every file one at the time.... (We have over 60 intreviews shot with multible cameras and 15 locations so this is not an option)
You can choose the set the project to singel user, then you suddenly can relink proxy media even in the smart bins and with the seach function.
This is so so so stupid or am I understanding this workflow wrong?
BR
Peo
So lately I’ve been using the Blackmagic cloud for proxy storage. It’s been perfectly reliable and overall easier to manage. I guess the only negative is you can’t choose what to download. For example in my Dropbox proxy workflow, I had a folder just for the localization team with a RiP (render in place) of the entire timeline so they only had only one video file to Dropbox sync and reconnect. Now though it’s just automatic. They open the project and everything downloads even if they don’t need it. But, they have no problem with it so, so far so good.
I’ll likely be moving my backup to box.com. I’ve seen reports of problems downloading large files though so I need to stress test it. I’ll be making a follow-up video but it’ll be a while.
Basically I think the solution should be somehow keeping the RAWs on your local and having just the proxies sync with the cloud/dropox and then finding a new backup solution for the raws. Does that sound right?
We haven't set this up yet, but thus far your setup seems like the mist similar I have seen to my own needs. I have a sinology and a few QNAP servers in the main office, but need to connect to multiple editors and colorists as well as have access since im on the go a lot.
In theory, having ONLY the proxies sync isn't an issue right? How would you set that up?
... OK for People running a full-on Video Editing BUSINESS...
... A Content Production business must earn AT LEAST 250k Gross to implement these solutions...
... and there are better more cost-effective setups out there...
... but perhaps my style of putting forth an argument is a bit curt. I apologize.
I agree... You did say that it was not for everyone... but since your solution calls for some substantial initial and continuous cash outlay...
...I wanted to hint to a more cost-effective solution which meets all your criteria... including perhaps an improved backup and collaborative workflow... but my solution needs a video... and since I have your attention...
https://youtu.be/FeMt7RF0ZVc?si=anxJu2N6OTq-wLe2&t=1018
Apart from that, you content is excelent 🙏✨
We've tried the cloud with 3 editors one the same project with proxies in Dropbox. However the editing experience felt laggy in comparison to local editing. Did any of your editors (specially the ones that don't have the synology set-up you do) have any problems with lag during the edit? Another problem we encountered was the files going off-line or missing media and I had to relink everytime I logged into the project. I have a feeling that might have been do to the folder naming and hierachy on the raw media not being the same? Or many not setting up the Dropbox connection for each of the editors properly?
Any light you can share into this is greatly appreciated.
Performance: hard to say because I haven’t used non-cloud in ages and no one specifically said “hey cloud is slower”, but something when I get bangs I do question if it’s cloud related or or.
Relinking; there’s a lot of issues in Resolve with relinking if you move media around. I finally concluded that if a machine that has access to both originals and proxies tries to use the Dropbox proxies, things get ugly real quick. As long as that machine is never used away from the originals though, I’ve not had issues.
Paths shouldn’t need to be the same. Every computer stores its own local paths. There’s the path mapping setting in project settings that could be worth exploring but as long as things don’t move once connected it shouldn’t get squirrely.
Dropbox: I recently started testing black magic’s own cloud storage. While there’s features missing, it really does work well. Totally seamless. But again no good way for the primary machine to be a laptop and go mobile. Which really sucks. I think the only way is to create a whole separate user on the computer.
Hope that helps. You can book some time with me if you want to dig deeper. http://www.photojoseph.com/1to1
I was thinking about passing up the video but the blunt but focused reaction about that specific YouTube video criticism of its loud music— sometimes this is true!
So I watched the video, and it’s not overly loud, but it’s instrumental music that really is distracting. I think it’s that Epidemic Sound canned stock soundtrack music— maybe you could dig a little deeper in their library of canned music.
I agree with the criticism of the canned music, Joseph. It’s either Epidemic Sound or the latest TikTok viral music. 🥱😴😵💫🤮
But this is all personal in the end, I don't see other people complaining so it might just be me
I'm well aware most folks don't have that kind of upload internet bandwidth though, but you can't say "It'll never work". Maybe qualify the statement with "if you don't have the upload bandwidth, you'll be in for a bad time"?
That person trying to work off a 50 Mbps connection is in for a bad time though, for sure ....
Comments
A military discrimination lawyer may also be engaged in work to effect policy changes to promote a more inclusive environment where such incidents do not occur and diversity and inclusion are promoted. This could involve working with lawmakers, military officials, and advocacy groups to effect change and implement policies that address systemic issues and promote diversity and inclusion within the armed forces.

Comments from YouTube