Unsupported Image Format Error in Externally Edited Photos Fix
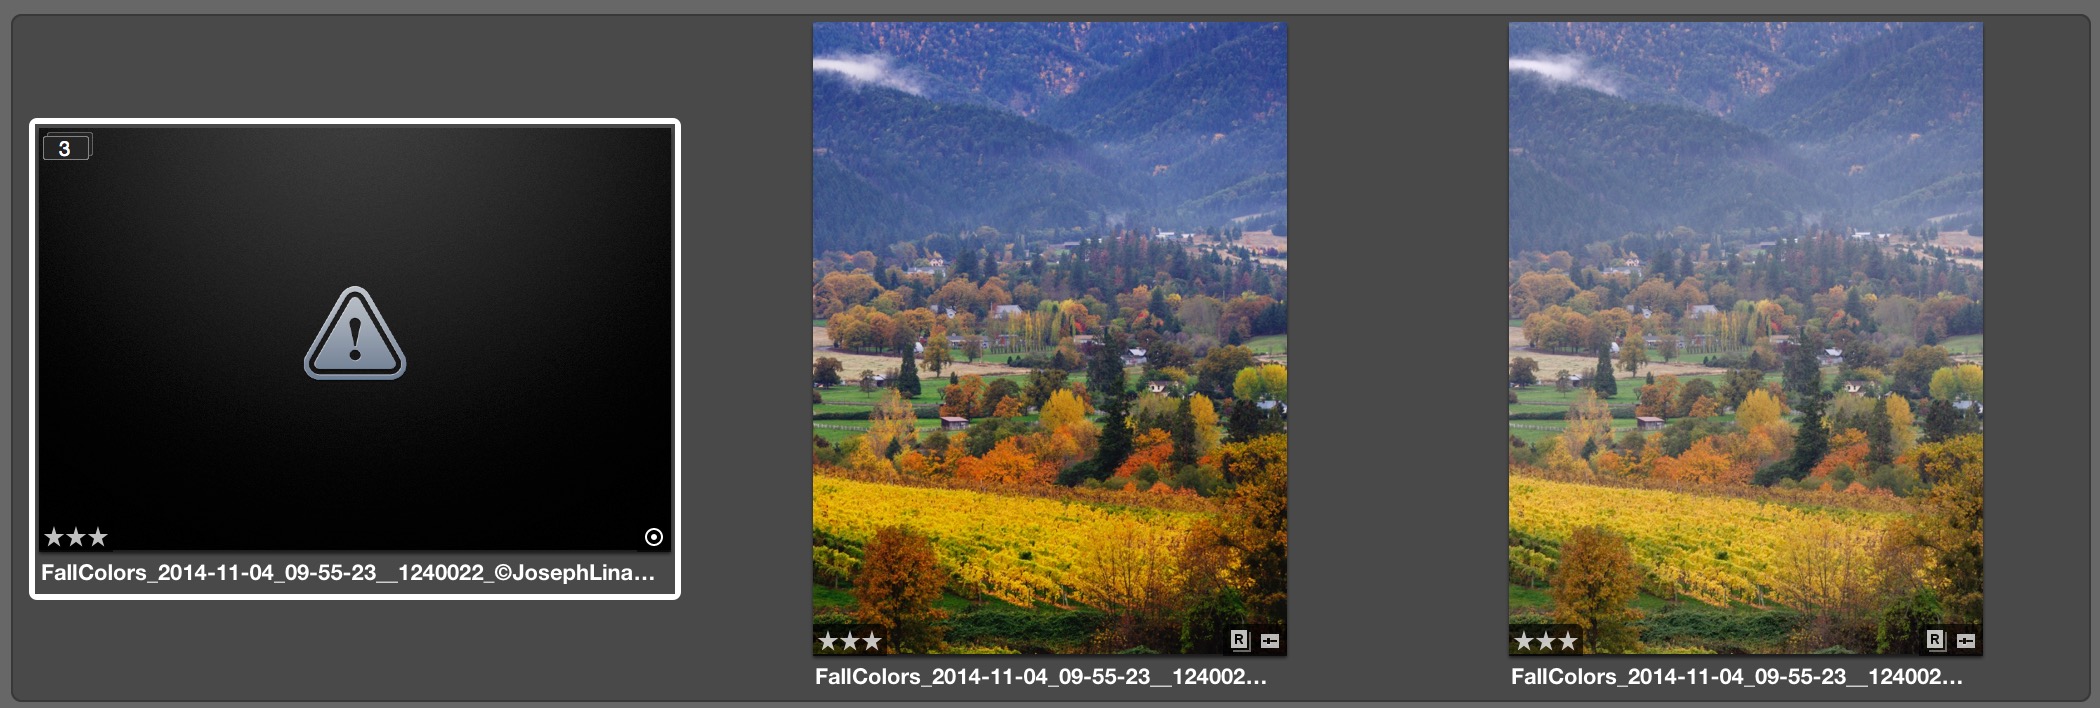
Here's the short version… getting the error below? You probably have alpha channels saved in your TIF file. Delete them, Reprocess, and all will be right in Aperture.
 This thumbnail can strike fear into your heart… what happened to my photo?!
The problem
If you're opening images into Photoshop from Aperture as TIF files to do some heavy duty editing, on return to Aperture you may have been met by the dreaded “unsupported image format” error. This can be exceptionally confusing since Aperture created the dang TIF file and sent it to Photoshop itself!
It turns out this is due to extra alpha channels in the TIF (this does not seem to affect PSD files). As discussed the other week, TIF is the preferred format… so this is just annoying. It's most likely a bug, and not likely one to be fixed. If you use PSD format, this doesn't come up. But again as discussed previously, there are many advantages to the TIF format.
The fix
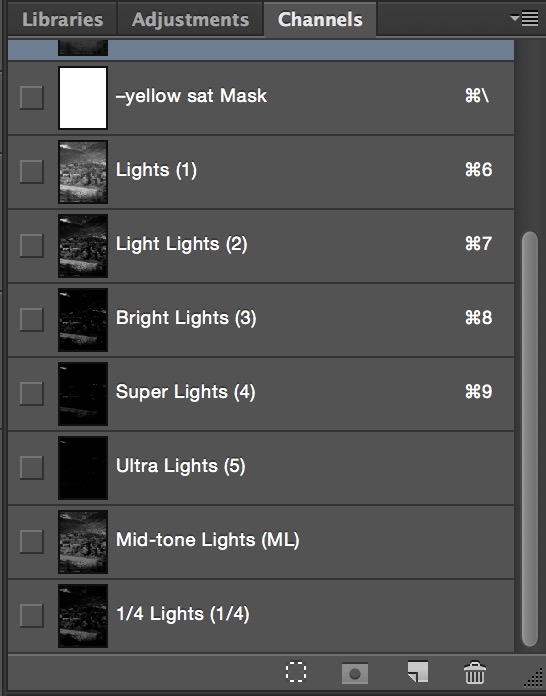
It's easy enough to fix; just delete the extra channels, save, and return back to Aperture. If you're not sure what you're looking for, in Photoshop, select the Channels tab. If you see anything other than RGB, Red, Green and Blue, then those are extra channels.
 Got extra channels? These may make your file “unsupported” in Aperture.
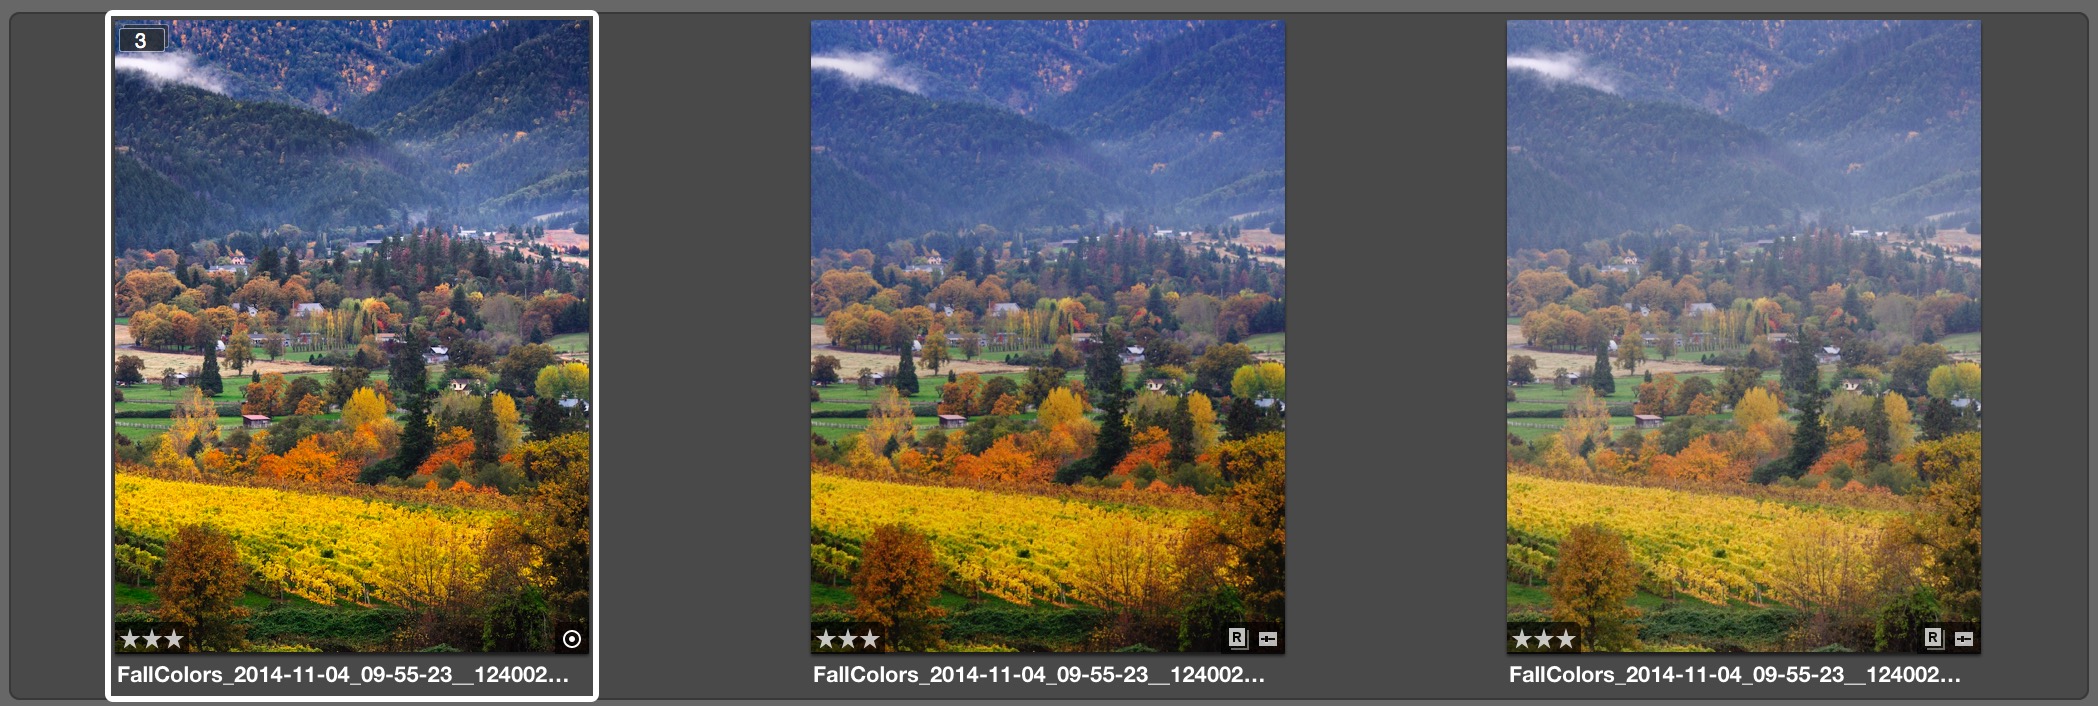
Once deleted, Aperture will read the file just fine.
You may need to reprocess
Even if you save the file in Photoshop and go back to Aperture, you may still see the error. If that's the case, you need to Reprocess Original… in Aperture.
 Reprocess Original to re-read the file and get it to show up in Aperture
Once that's done, the file should show up as expected. If it doesn't, then you likely still have a channel left behind.
But what if you've already closed the file?
This can be tricky. If you've already saved the file in Photoshop and closed it, and once back in Aperture you're seeing that “unsupported” message, if you go to open that file in editor (as you should be able to do), you may see this message:
 This isn’t helpful… how do you get to your file, then?
So now what? How are you even going to open the file to remove those channels?
If you're working referenced, it's easy enough to do. Just choose File > Show in Finder to reveal it, double click to open, do what you have to do, save and close.
However…
If you're working managed…
If you have a managed library then this gets trickier. You can't Show in Finder because the original is inside the Aperture library.
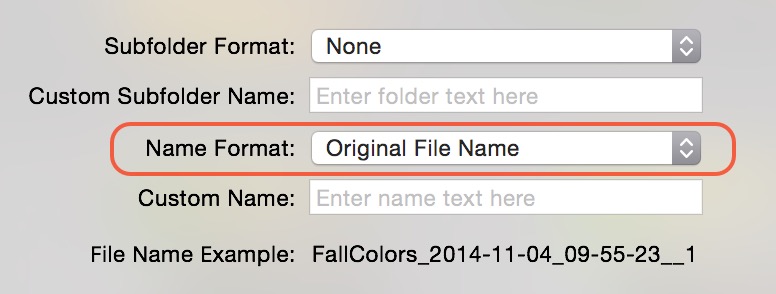
The solution is to temporarily relocate the file outside of the Aperture library. Choose File > Relocate Original, and stick it somewhere obvious (like the Desktop). Be sure you don't rename the file on transfer though! This mistake has bitten many an Aperture user.
 Be sure not to rename your originals when relocating
Once that's done, you can go to the Desktop (or wherever you put it), open in Photoshop, and proceed.
Then put it back
Finally if you are working managed, you'll likely want to put that file back where it belongs. Simply select the image in Aperture (once you've cleared the extra channels, saved, closed, and back in Aperture, chosen to Reprocess Original), then go to File > Consolidate Original… to pull that file off the Desktop and back into the Aperture library.
This is a silly problem
Yes, this is a silly bug. And it wasn't always there. But now that it is, it's unlikely to be fixed given that all the attention is on the upcoming Photos.app. So assuming it isn't addressed, at least now you know how to get around it.
 Fixed! So much better…

Comments
on November 21, 2014 - 5:29pm
Funny, I had some of these show up while I was looking at exporting some photos recently and after reading this Tip I went back looking for them and they are gone. All of my pictures seem to be intact, at least for all of my shoots from this year (managed files). 2013 and back are all referenced but I did not check any of them. Anyway, if this does pop up again I’ll know what to do, Thanks, Joseph. Now, lets get Photos released so we can at least get an initial look at what could be in store for us!
Florian Cortese
www.fotosbyflorian.com
on November 30, 2014 - 6:11pm
I found three old family photos that were in a reference file on my external HD with this problem. Fortunately, I had saved these on a portable external drive. When I clicked on the photo I got the same editing message, then tried double clicking to open it and I got a message that the image was either damaged or could not be opened. Then on a lark I right clicked on it and selected open and opened it in Photoshop and waa-laa the image came back! I then saved it to my desktop and reimported it into the referenced folder it was located in. I just changed the name slightly. I did this to each photo separately and imported them separately to create the new name. I’m not sure that if I tired this on my original referenced file on the external HD that the same thing would happen, but, hey, who cares…I got my pictures back! :-)
Florian
Florian Cortese
www.fotosbyflorian.com
on August 24, 2015 - 7:26pm
Just wanted to say THANK YOU for this post. Helped a lot!