Using an X-Rite ColorChecker Passport in Lightroom: Page 2 of 3
Organizing in Lightroom first
Once imported into Lightroom, I did some quick organization to ensure I knew exactly which photos needed which treatment. First I imported the card from each camera into Collections named for that camera. I put the photos of the Passports themselves into Collections with names like “G7 x-rite outdoors” and “GX8 x-rite outdoors”, then put all the photos shot in that environment with that camera into folders similarly named “G7 outdoors” and “GX8 outdoors”, as you can see in the screenshot below. If you were changing lenses on the camera, you'd probably want to shoot the card with each combo, then separate those as well (more on that later). I'd then use Smart Collections to sort them by lens (if you're new to Smart Collections in Lightroom, check out the Live Training 203)
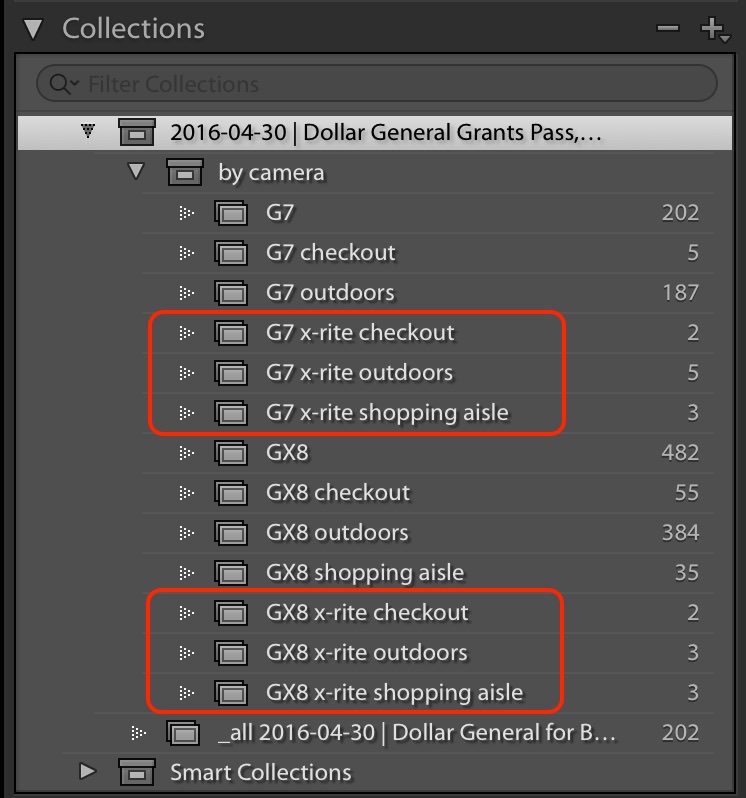 Organizing in Lightroom first made it easy to keep track of things
With that out of the way, I was able to get started on making custom profiles for each one.
Creating custom profiles
Creating the profile is super easy. All you need to do is select a photo…
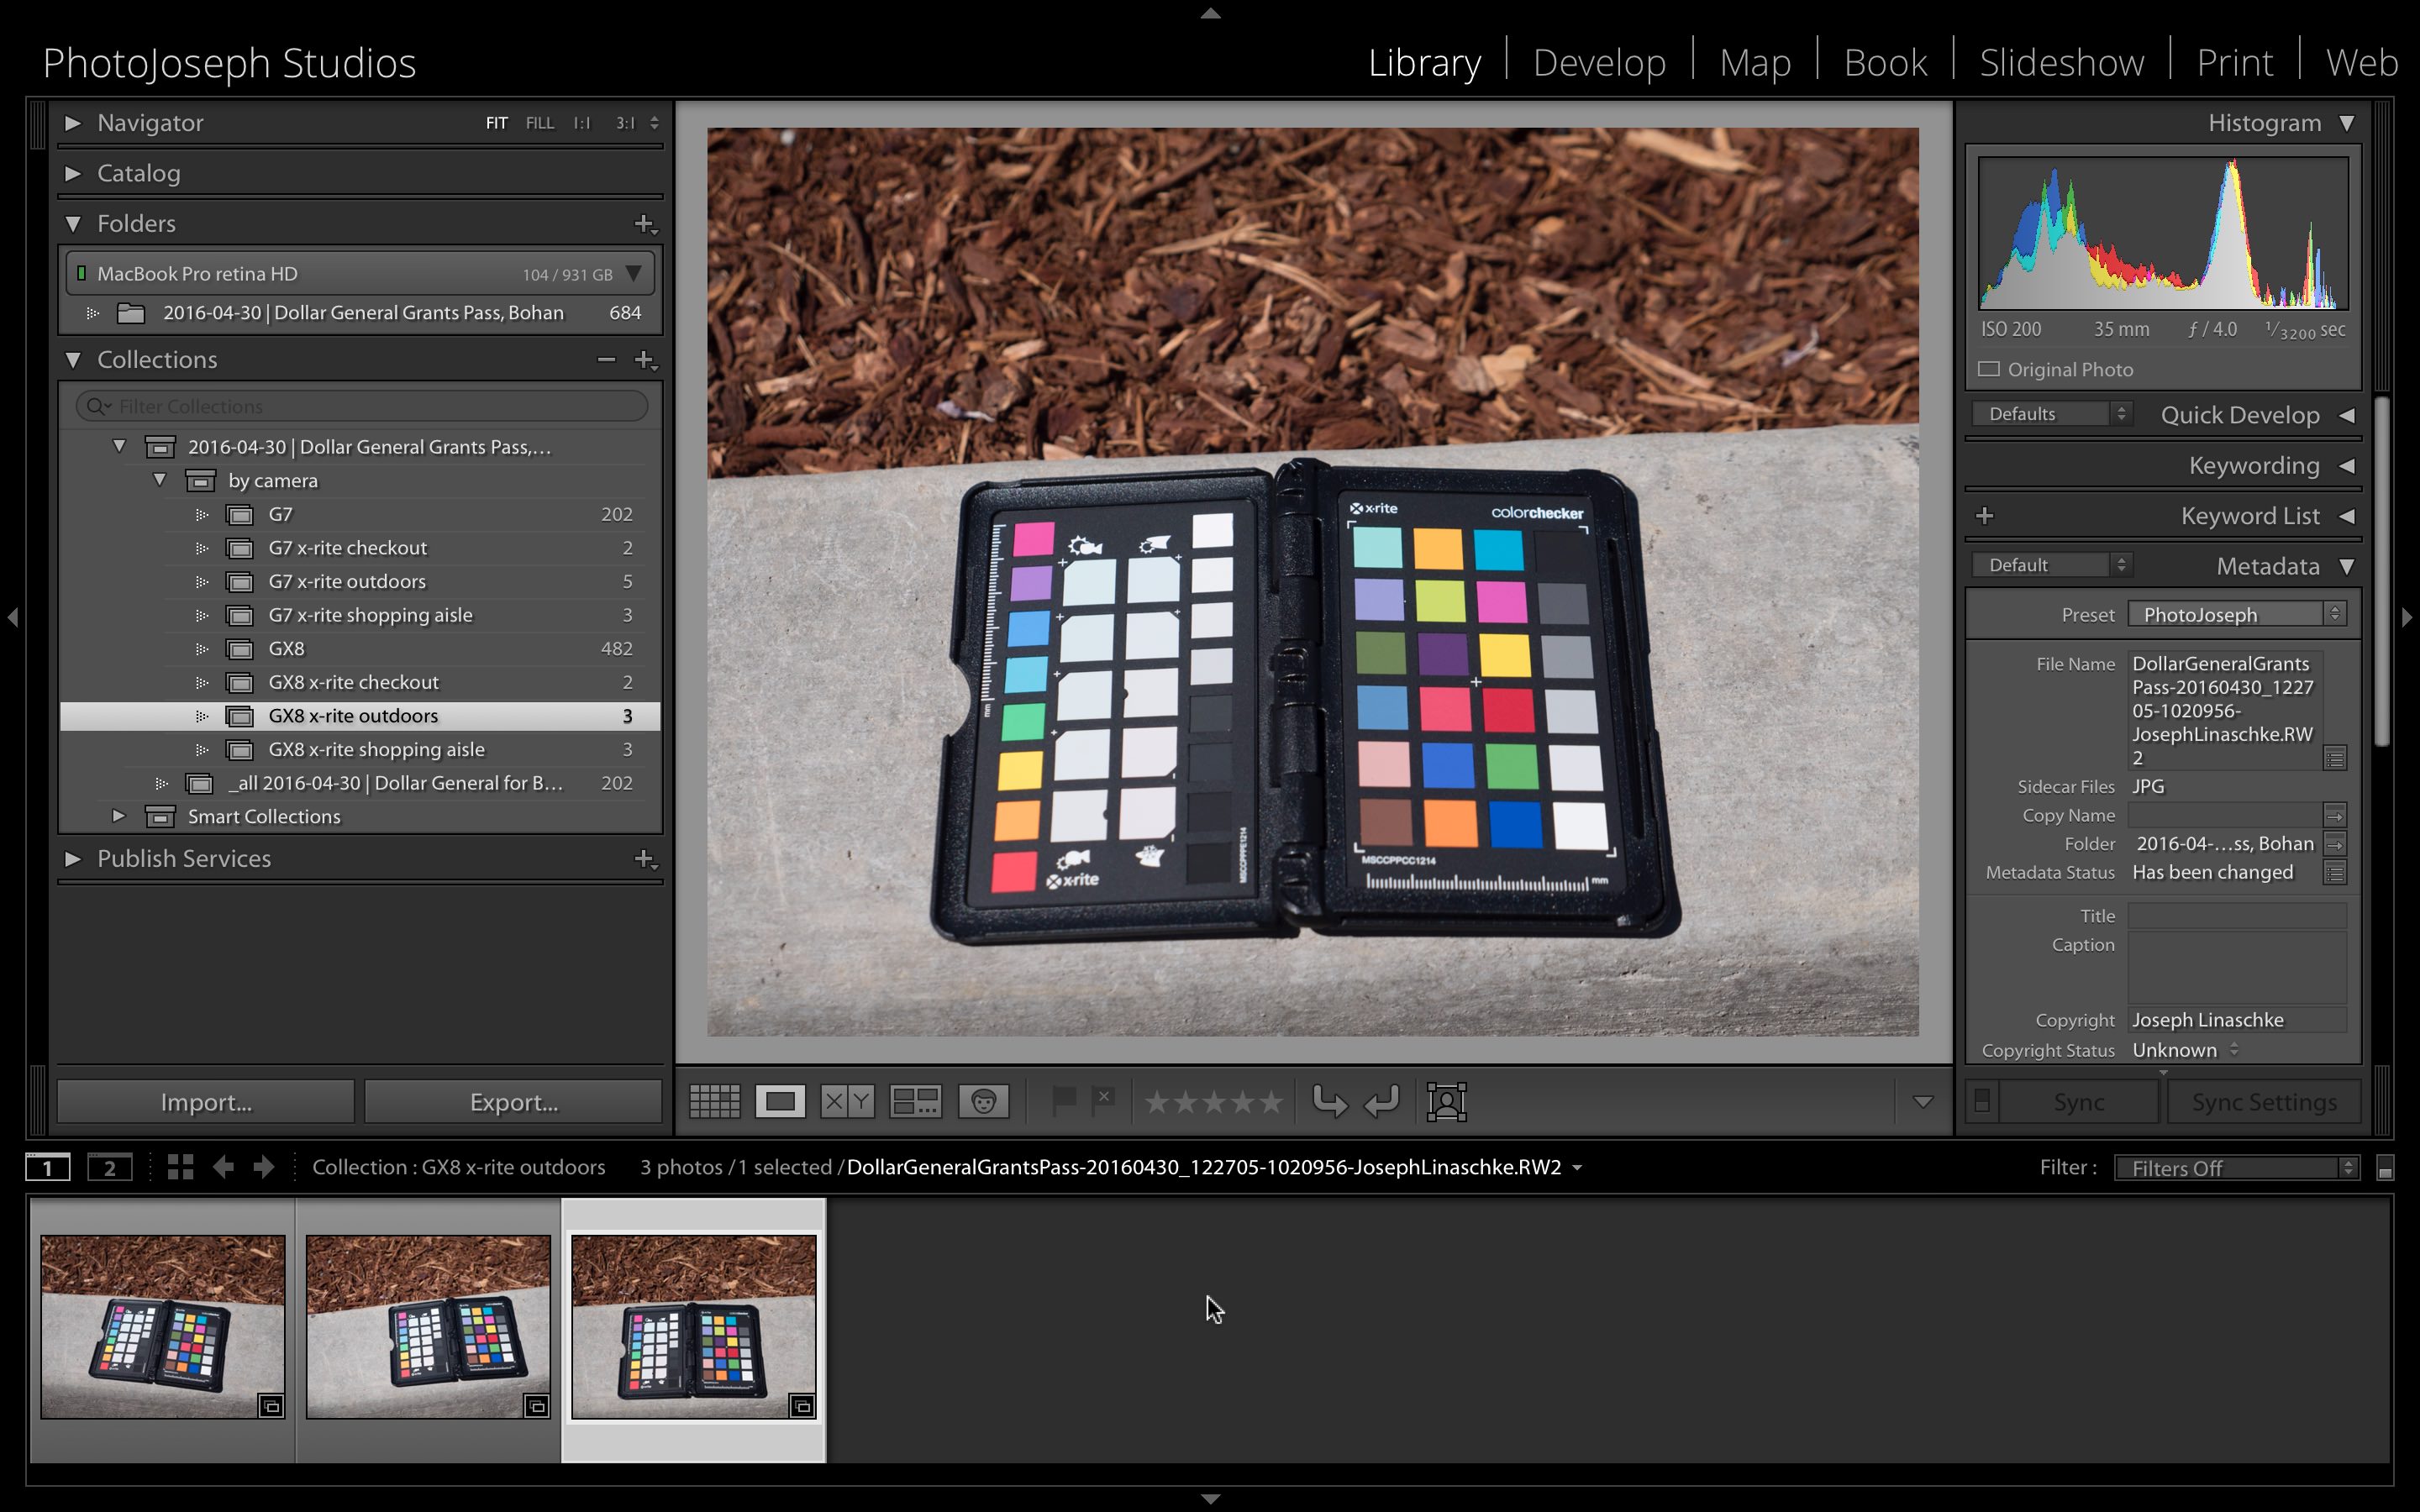 Here is one of the photos from the “GX8 x-rite outdoors” collection. Ignore the fact that there’s less organization in this Collection Set than in the previous screenshot… I made some changes after I took this ;-)
…and export it using the plugin from File > Export with Preset > ColorChecker Passport. Yes it seems odd that it's in the Export menu and not the Plug-in menu, but that's where it is.
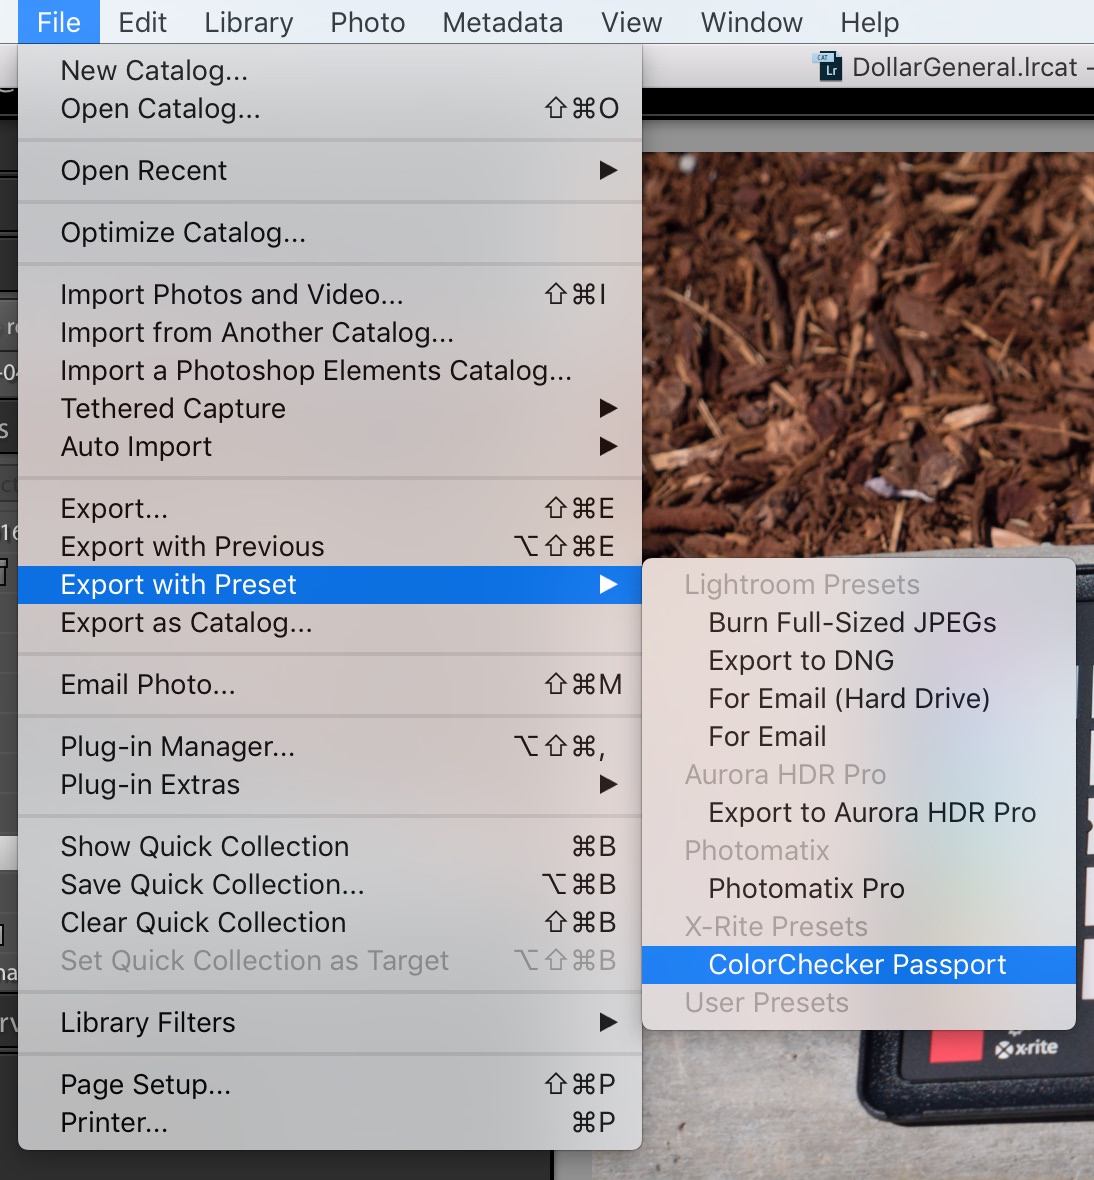 With the photo selected, choose File > Export with Preset > ColorChecker Passport
You'll be asked to name the profile. You don't actually have to name it with the camera name, since this profile will only show up on RAW files shot on that camera. The same profile will however be available for any lens you've shot with on that camera. I've been trying to get a solid answer on this, but as I understand it a profile for a camera under a specific environment should be good enough regardless of the lens used, but if you really wanted to be as accurate as possible, and compensate for variations in the lenses themselves (which there will of course be), then making a profile for each body/lens combo under each unique environment certainly seems to me the right way to go. More work, yes, but also more accuracy. So with that in mind, if you are using multiple lenses on the same body (I wasn't here), then including the lens name in the profile name would be a good idea. Also you'll want to name it for the environment, and you could even include the date if you were revisiting the same location at different times of year.
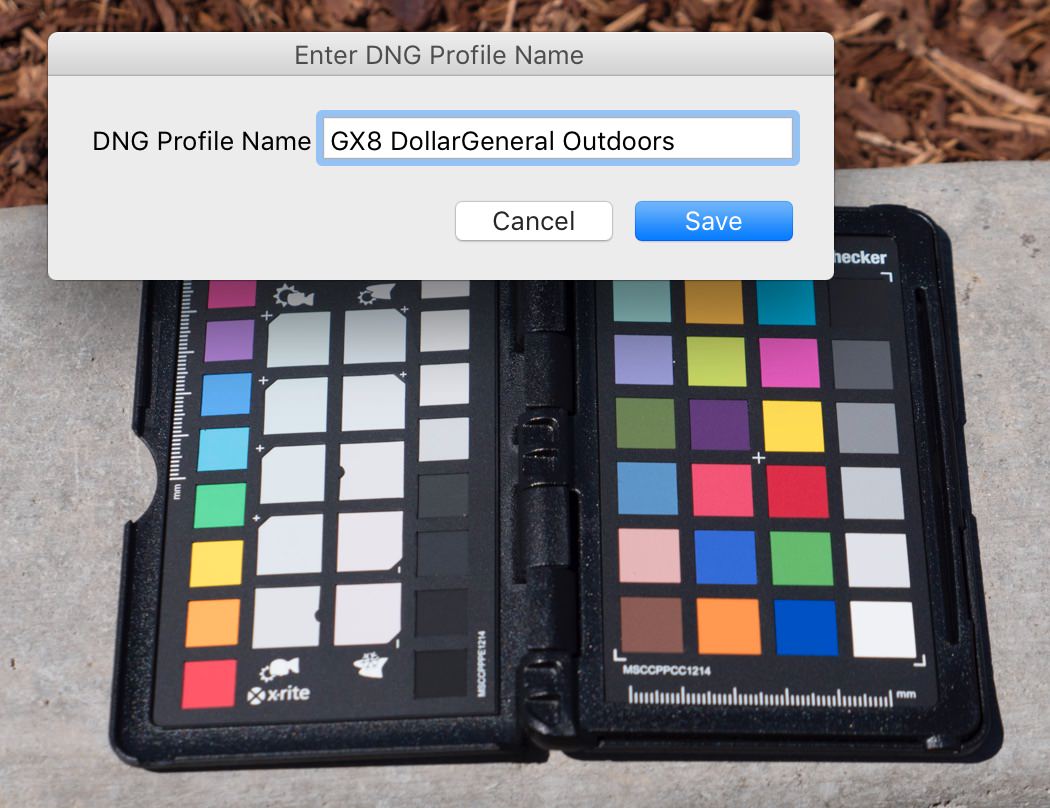 Name your profile something sensible; location is key
Hit Save, then after a few moments (it can take a minute or so), you'll see this dialog:
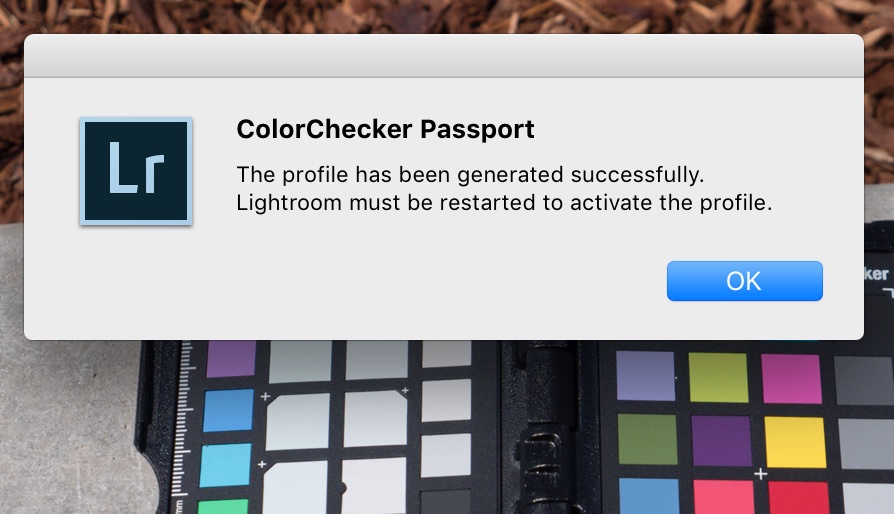 Success! Notice that you have to restart Lightroom to activate the profile.
As the dialog says, you have to relaunch Lightroom for the profile to show up. However you don't have to do that now… you can process the rest of your ColorChecker Passport photos first, then restart to activate them all at once. Once you've created all the profiles you need, (and have relaunched Lightroom), you're ready to go!
Applying the custom profile
The next step is to apply the profile to the photos you want. Essentially you start with a single photo, then sync those settings to the others.
You'll want to start with the photo of the Passport itself (you'll see why in a moment). With the photo selected, switch to Develop mode, then towards the bottom of the adjustment tools, you'll find Camera Calibration. Under that is the Profile menu (name hidden in the screenshot below under the options themselves), and by default it'll be set to Adobe Standard. Just change that to the right profile, and revel in the color changes in your photo!
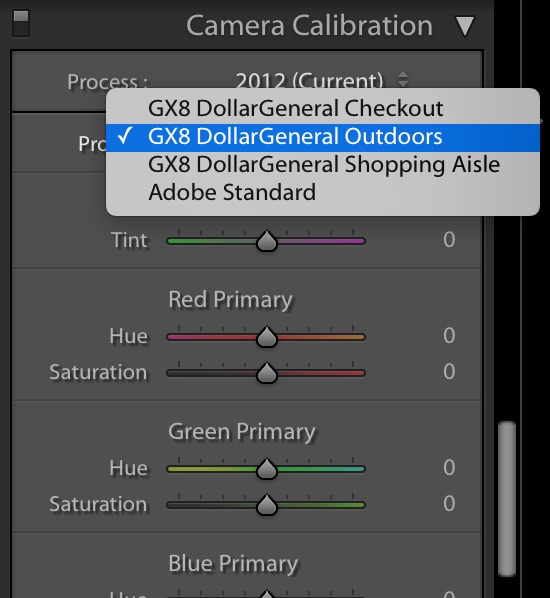 Even though I’ve already created profiles for the G7 camera as well, only the GX8 profiles are available
You could be done here, but you'll get even better results if you white balance as well. Cameras do a pretty darn good job of auto-white balancing these days, and frankly sometimes I like what comes out of the camera better than what's “accurate”. But in the interest of consistency (and certainly for accuracy), it's best to set everything to a natural/correct starting point first, then adjust from there.

Comments
on March 4, 2017 - 6:51pm
This video is terrific. No more using Adobe Bridge for me! Thanks!