Converting Raw Images to Black and White
Once primarily a product of technical limitation, black-and-white photography is still going strong today. Great black-and-white photos deconstruct a scene, while at the same time transforming distracting colors into subtle shades of gray. Whether you’re shooting landscapes, portraits, still life, or documenting the world as you see it, converting your RAW photos to black-and-white can breathe new life into your photography.
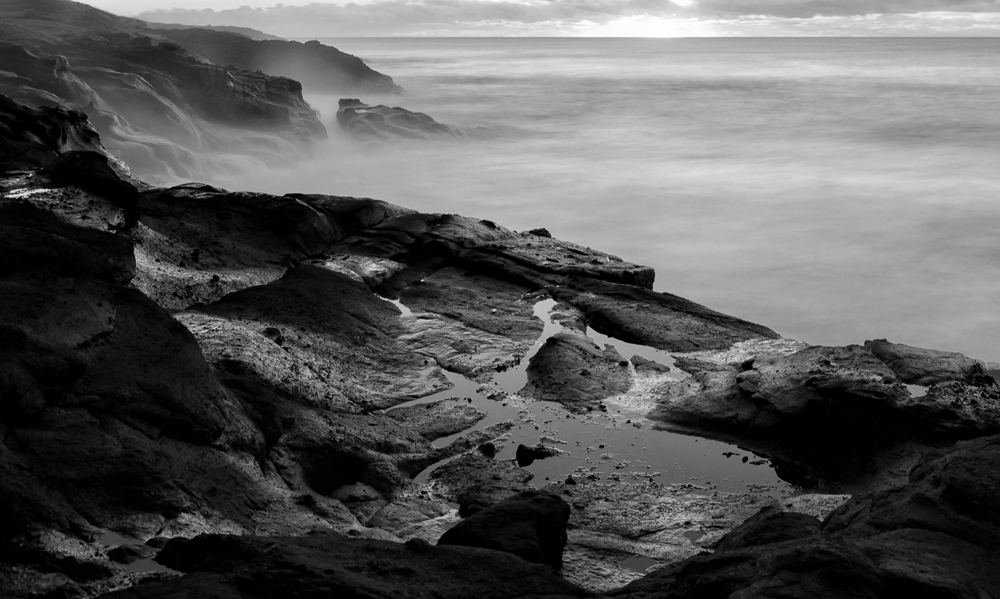 Shooting in Raw will give you complete control over your image’s final look — Photo Credit: Teryani Riggs
Why Shoot in RAW?
If you want the best images possible (whether color or black-and-white), shooting in RAW is essential. RAW files are uncompressed files that contain all of the information your camera’s sensor recorded in each shot. JPEGs, on the other hand, are compressed image files that lose a fair amount of the original data during your camera’s processing of them. When you shoot in RAW, you get all of the information, and that gives you the ability to make significant adjustments to the image without damaging image quality. The benefit is vastly more editing options with much smoother conversions.
Shooting in RAW for black-and-white photos allows for…
- the smoothest grayscale tone transitions
- the greatest flexibility when using color filters
- effortless white balance changes
- easy, non-destructive editing (the data in RAW files is never changed, so you can work with them as much as you like and always return to the original safely)
The only disadvantages to using the RAW file format are that the files are much larger (you need more storage space) and you’ll need an editing program capable of processing them (i.e. Photoshop with a plug-in, Lightroom, Luminar (2018 version), etc.). From there, there the conversion is relatively easy.
These days all dSLRs and most high-end point-and-shoots have the option to shoot in RAW. You can make the change in your camera’s file format menu.
Editor's note: If you like shooting in B&W so you can review the image in-camera in B&W, show a client in B&W, or even transfer to your smartphone for immediate social sharing without having to do further B&W conversions, remember that you can shoot RAW+JPEG and get the best of both worlds. You'll see the B&W image in-camera and that's what will transfer to your phone, but when you import to Lightroom or whatever app you're using, you'll have the full color RAW file to work with.
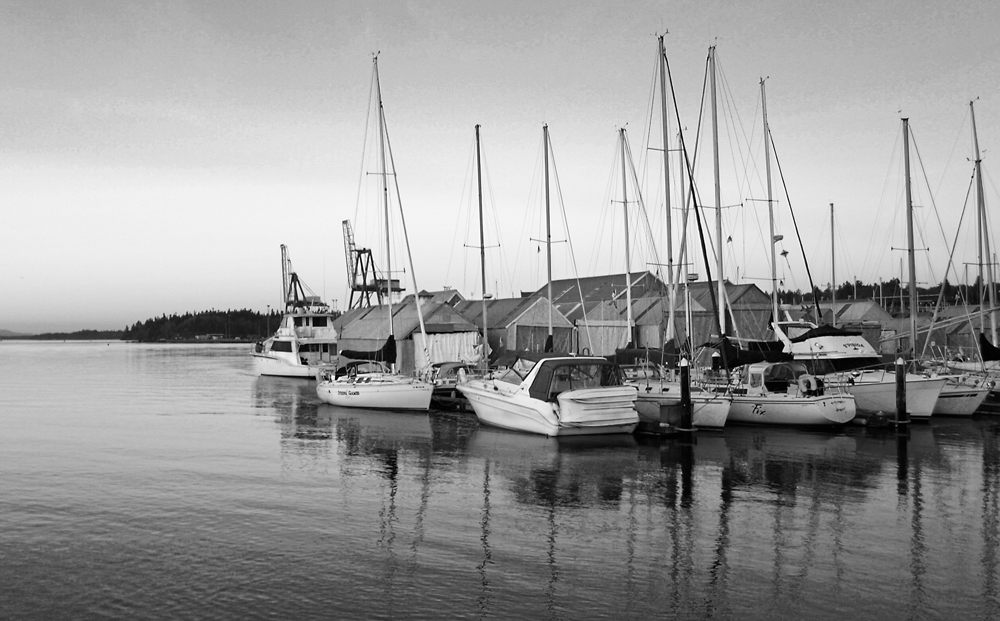 Photo Credit: Teryani Riggs
Should I Set My Camera to Shoot in Black-and-White?
While some purists may believe black-and-white photos should be taken in-camera, you’ll have a lot more options if you first take your photos in color and then convert them afterwards. By shooting in color, you preserve the image’s information regarding exposure, white balance and color tones. This will give you a much greater editing range in your post-processing. When your camera does the converting for you, it loses all of the color information, thereby severely limiting your editing options (especially where color filters are involved). Also, most camera conversions are often of poor quality, yielding flat, washed out photos.
If you’d like to begin seeing in black and white but want to retain all of the color information, check to see if your camera will allow you to change its viewfinder mode. Many of today’s cameras have an option to change the viewfinder to monochrome, giving you a black-and-white simulacrum while still recording the photo in color.
The only time you might want to have your camera take black-and-white photos for you is if you’re not planning on editing them (or editing them much).
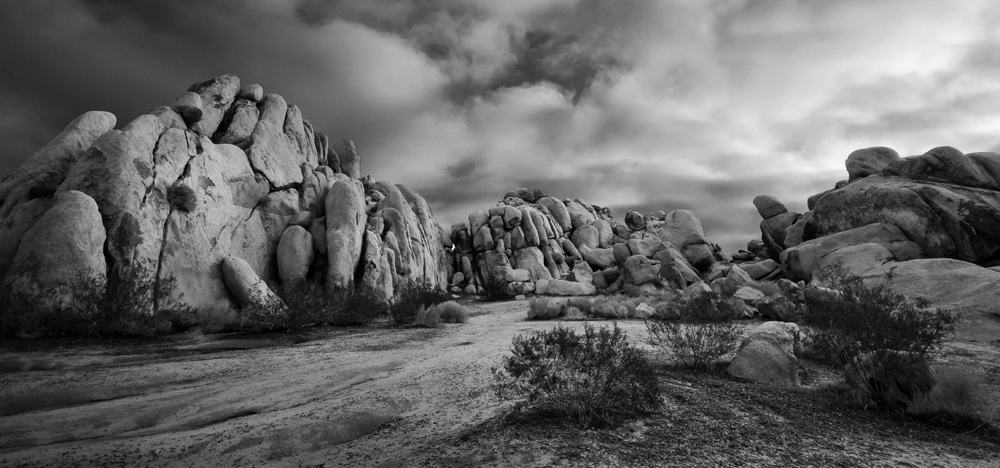 Photo Credit: Teryani Riggs
Processing Your Images
With today’s advanced editing software, you have a number of options for converting your photos into black and white. If you’re a beginner, you might want to choose a program with numerous black-and-white presets. Then you can simply pick the preset that most closely matches the look you’re going for and adjust from there. If, on the other hand, you want to be involved in every adjustment, start with your global RAW adjustments (exposure, white balance, color temperature, blacks, whites, etc.). You can do this first in color and then convert to black and white, or convert to black and white first and make your adjustments from there.
Ideally, you should make sure the image has the correct white balance and any color casts have been removed before converting. This will make the colors purer, which will, in turn, maximize the quality of any color filter you use.
Pro Tip: Most editing programs will convert to B/W with their interpretation of the conversion (like your camera). If you want to start from neutral, you’ll have to research how to do that in your editing program of choice or restore the sliders manually.
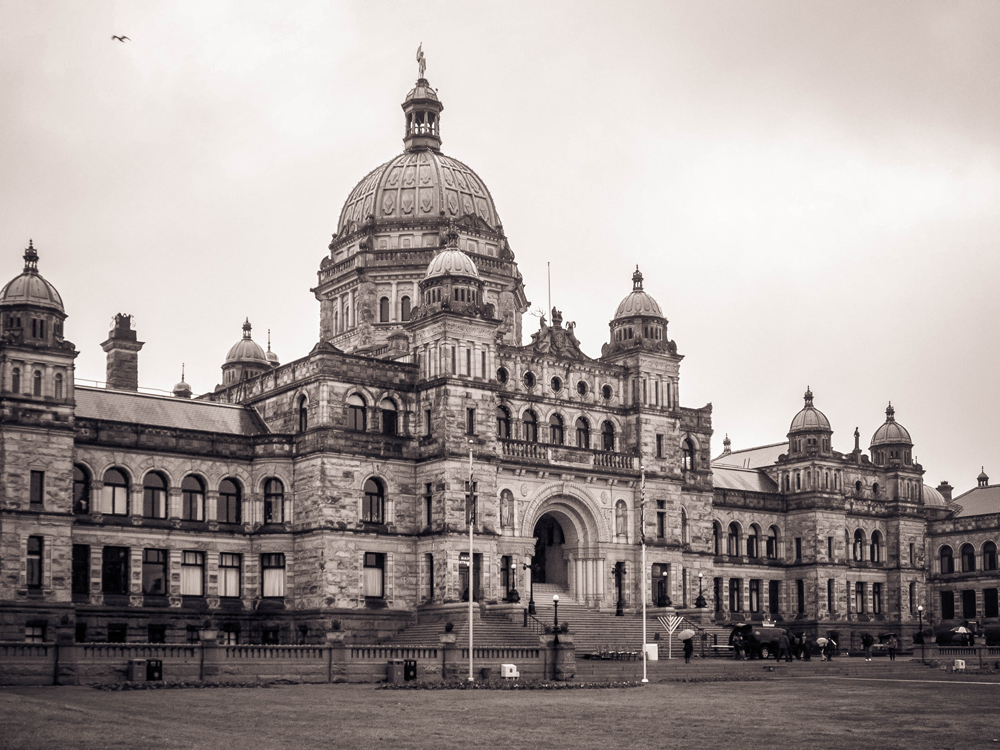 Sepia is a much-loved form of black-and-white photography — Photo Credit: Teryani Riggs
Using Color Filters
In the days of film, black-and-white photographers would usually choose a color filter when making a shot. Without them, many colors would end up looking the same. Color filters allow you to accent the colors complementary to the filter, bringing out reds, greens, or blues that would otherwise blend together into a gray sameness. For example, Ansel Adams’ use of red filters would increase the texture in water, sky and foliage and was part of his signature style.
Any software that works with RAW and provides black-and-white conversion will have color filter options. You can either choose the actual filter (often set in a line of respectively colored dots) or adjust the sliders in the HSL panel.
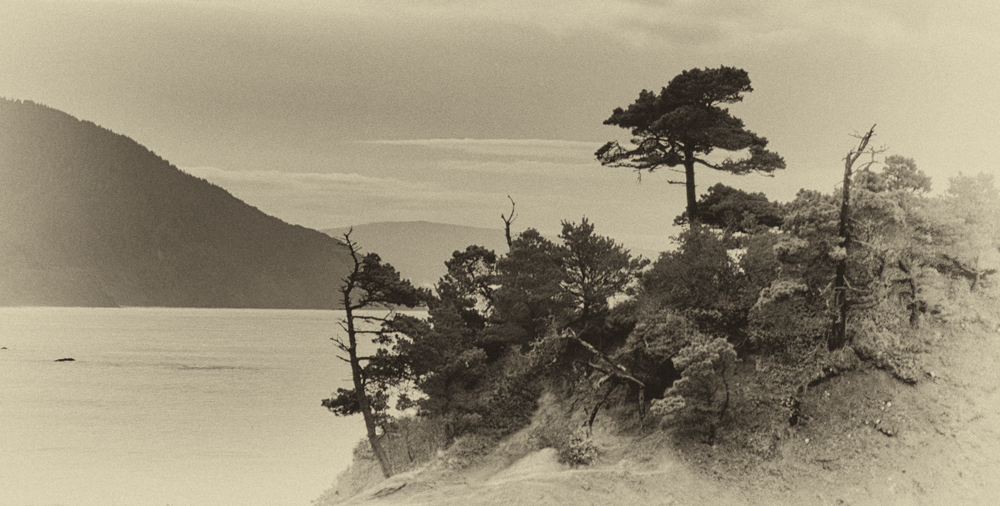 This look was created using Nik Software’s Silver Efex Pro — Photo Credit: Teryani Riggs
Going Pro with Plug-Ins
There are a whole host of black-and-white plug-ins on the market these days, many of which can take your images to the next level (especially if you’re not yet experienced in black-and-white photography). Some of the oldest and most renowned are Nik Software’s Silver Efex Pro (now owned by Google and free) and Topaz’s B&W Effects. Newer on the market but no less exceptional is MacPhun’s Tonality plug-in. All of these work with both Photoshop and Lightroom and offer numerous looks, as well as powerful and precise editing tools. They’re well worth a look. There are also a number of free (and paid) presets available for both Lightroom and Luminar, as well as actions (for the more advanced editor) for Photoshop.
So, no matter what your style is, you should be able to find your stride in black-and-white photography with at least one of these converters and/or plugin packages. Just take your photos in RAW (if you aren’t already) and go from there.
More like this
- Tip
- Tip
- Tip
- Tip
- Tip

Comments
on January 12, 2018 - 3:41pm
Hi everyone,
Thanks for reading this :) Feel free to share your thoughts or ask any questions.
Thanks again,
Max