Brushes in Aperture are handled quite differently than what you might be used to in any other application. Whenever you choose to brush in an effect, for example Dodge or Burn, you’re not actually dodging or burning the photo. You are in fact painting a layer mask between two versions (effectively two invisible layers) of the same picture—the original, and the dodged (lighter) or burned (darker) one.
This gives you two levels of control. First, while brushing, you can brush the effect in either more intensely or less intensely by adjusting the strength of the brush. What you’re really doing is choosing a black brush (0.0) or a white brush (1.0) or some level of grey in-between (0.2, 0.5, etc.). Second, you can adjust the intensity of the effect itself in the adjustment settings—at any time. For something like dodge or burn, this is one slider. For something like Curves, well, you have the entire Curves tool at your disposal. This lets you selectively brush the effect in and out of the photo, but then change the entire adjustment globally as well. Once you understand this, it makes brushes in Aperture arguably more powerful than any other software out there.
Here’s a detailed explanation, and something you can follow along with to really grok it yourself at home.
Applying an effect…
Let’s start with something without a brush at all, for example, Curves. I’ll make this really dramatic, so it’s easier to see.
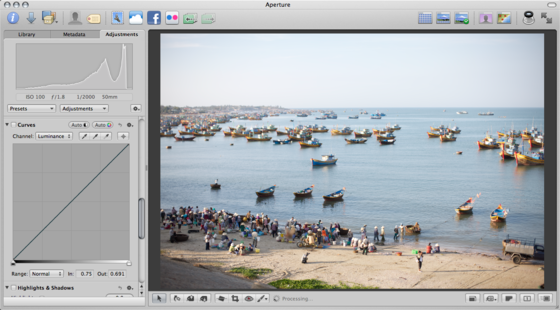
Here’s the original photo:
