Don’t Let the Blues Get You Down
EDITOR'S NOTE: The next Live Training is all about the Color tool, and Paul created a fantastic tip here showing just one great use of this powerful adjustment! To learn more, be sure to check out Live Training Session 112 — either watch it live, or download it after.
Pretty much since Aperture 1.0, I've used my Color brick as a single colour-selectable pane. Until recently, I didn't find the extended view necessary.
Lately, I've started tinkering with the sliders in the extended version, finding myself more likely to look for small tonal changes and getting better balanced images as a result.
Sitting in a workshop session during a visit to Greenland in May, I watched photo-master Hans Strand explain his misgivings regarding the capture and rendering of blues in digital images of the regions icebergs, glaciers and skies.
The impact of this is unmistakable—great looking photographs with just a touch too much saturation in the blue/cyan region. His comments were aimed primarily at Hasselblad and Nikon cameras, leading to a solution that required a round trip into Photoshop, the use of Selective Colour, a Levels adjustment and sometimes, additional de-saturation. Seemingly, other digital cameras aren't so prone to this blue blow-out, with Sony's sensors getting the highest praise for realistic colour rendering across the entire spectrum.
All very nice, but as I was using a D800, the end result was an extra processing step and an additional 200 MB PSD file for every image I wanted to process. Couldn't this be done in Aperture?
As is now the norm, I was the only attendee still using Aperture, so discussing solutions with my fellow photographers was not an option. Time for some experimentation.
Actually, it was surprisingly easy.
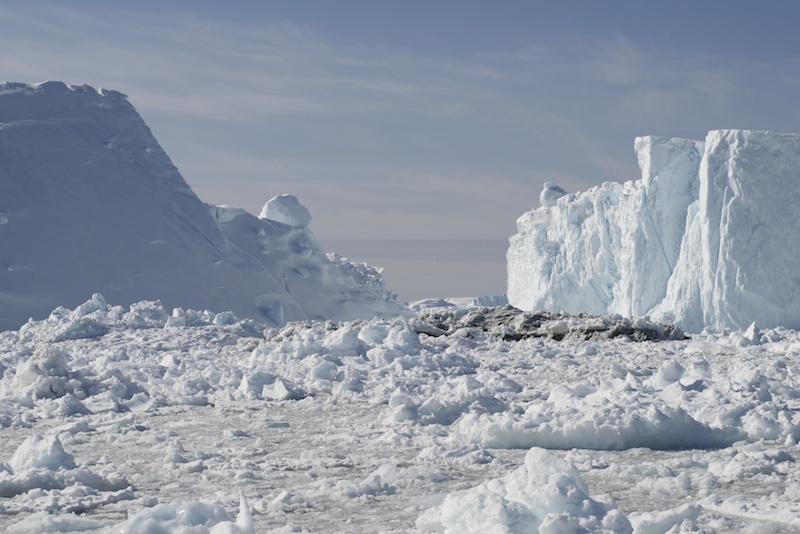
 RAW image from D800e
This example RAW file needed little work. Despite having been shot with a decades-old 80-200 zoom, there was little need for Chromatic Aberration (-0.3 in the red/cyan), my preference of 0.4 of Definition and some Curves adjustment. Time then to get the blues under control.
The adjustment I was seeking meant a bit of fiddling with the blue eye dropper—that suggested the hue values didn't change much across the entire image and clicking on what I thought was an average value seemed a good place to start.
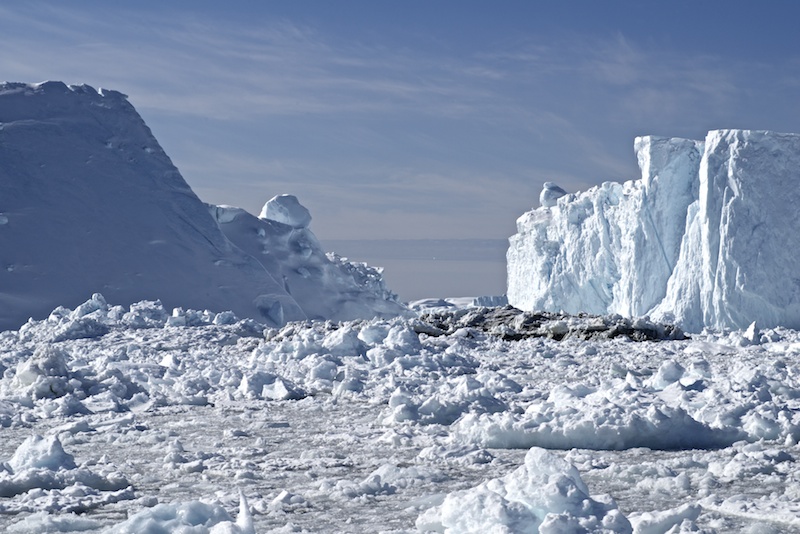
 Editing - I’ve got the image how I want it, now to deal with the blues
Remember here that all I was seeking to do was reduce the slight blue/cyan cast, especially in the sky and mid shadows.
 Just a small change.
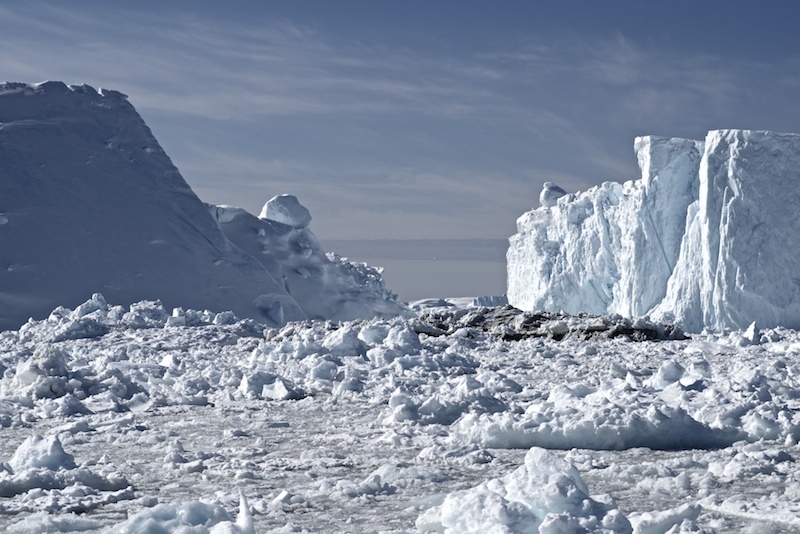
My hue choice proved about spot on. With the sampled color Saturation down at –10, I began to see the tiny colour shift I wanted and a more realistic colour theme emerging. Edging down Saturation to –13 and reducing the Luminance to –30 bought me to how I remembered the scene, and a much more balanced end result.
 Job done and no PS round trip.
Hans' Photoshop method would have delivered similar results. Aperture did it with no round tripping, 200 MB of saved disk space, and all done in a fraction of the time!
More like this
- Forum
- Tip
- Forum
- Forum
- Tip

Comments
on August 8, 2014 - 9:24pm
Really nice result! A really small change but that make impressive result on the pic!
on August 17, 2014 - 4:39am
A dumb question but why not dial in a custom white balance in the camera?
on August 19, 2014 - 12:37am
Paul should chime in, but I think it's not really about white balance, but more that some sensors tilt towards blue. I think warming the entire scene wouldn't do the trick, as this doesn't appear to be a warming effect, overall. From what I understood in the article, this really is only an issue on scenes with really large white areas, and normal photos with white, you wouldn't necessarily see it.
@PhotoJoseph
— Have you signed up for the mailing list?
on August 19, 2014 - 3:35am
Thanks Joseph.
Interesting.
I have read that Nikon sensors tend to be a little “cooler” than Canon, others, and I have noticed said “cooler effect” in images from my D7000. I have also discovered that if I render NEFs using Nikon software, I get much better color (for me at least) than using other PP software. So my NEF flow involves Nikon software -> TIFF -> PP/DAM. Shooting JPEG (horrors) avoids all this.