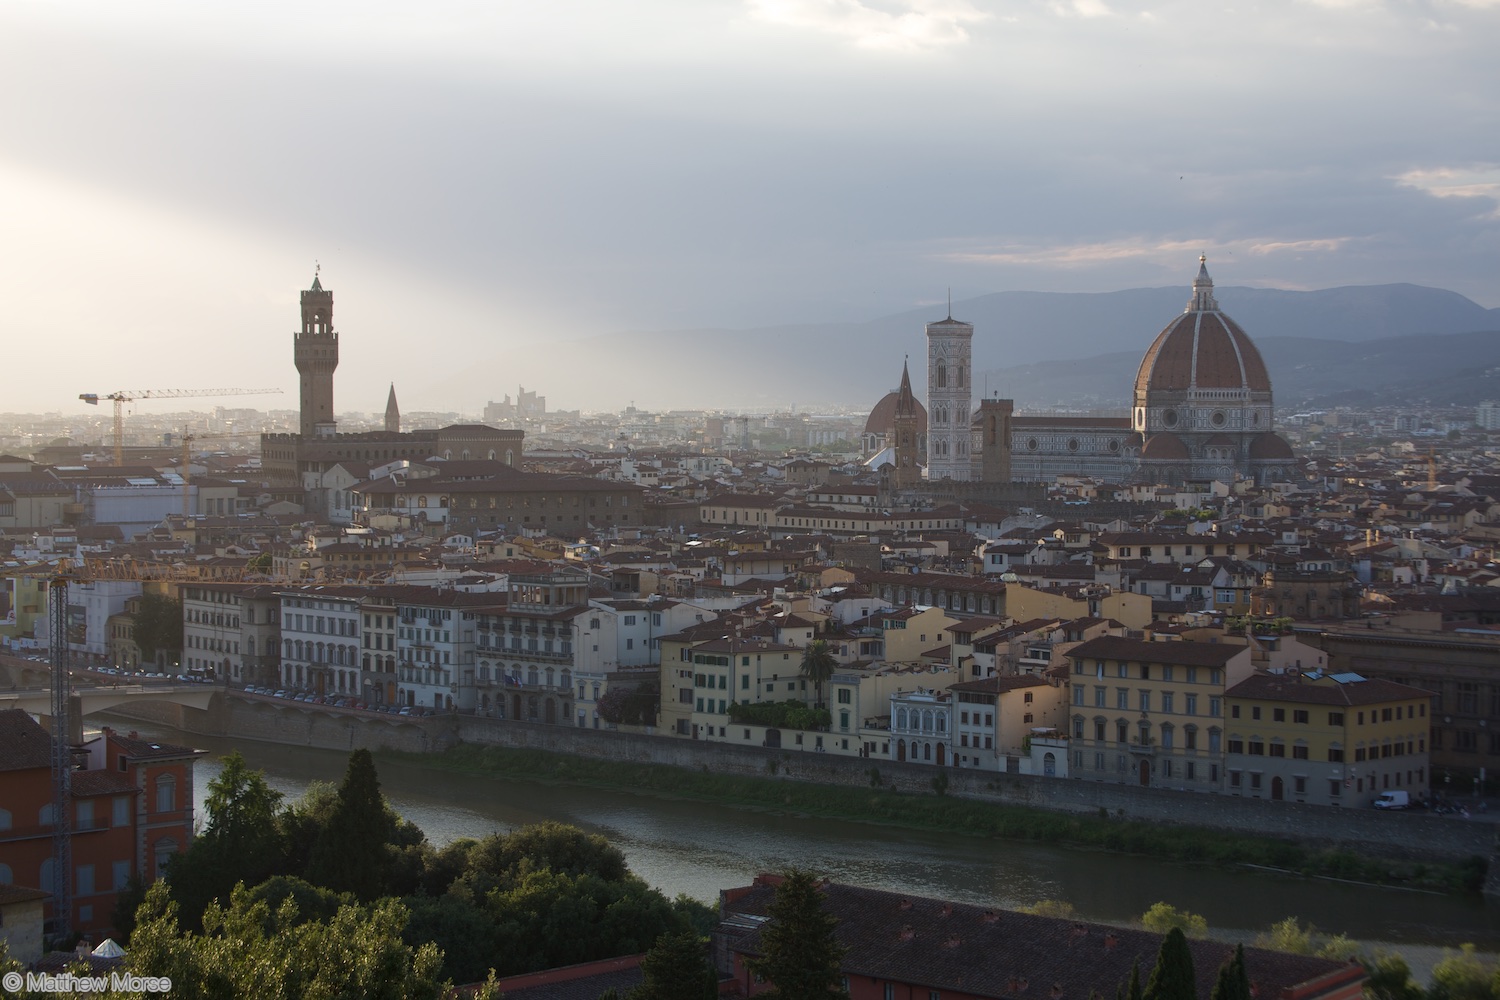
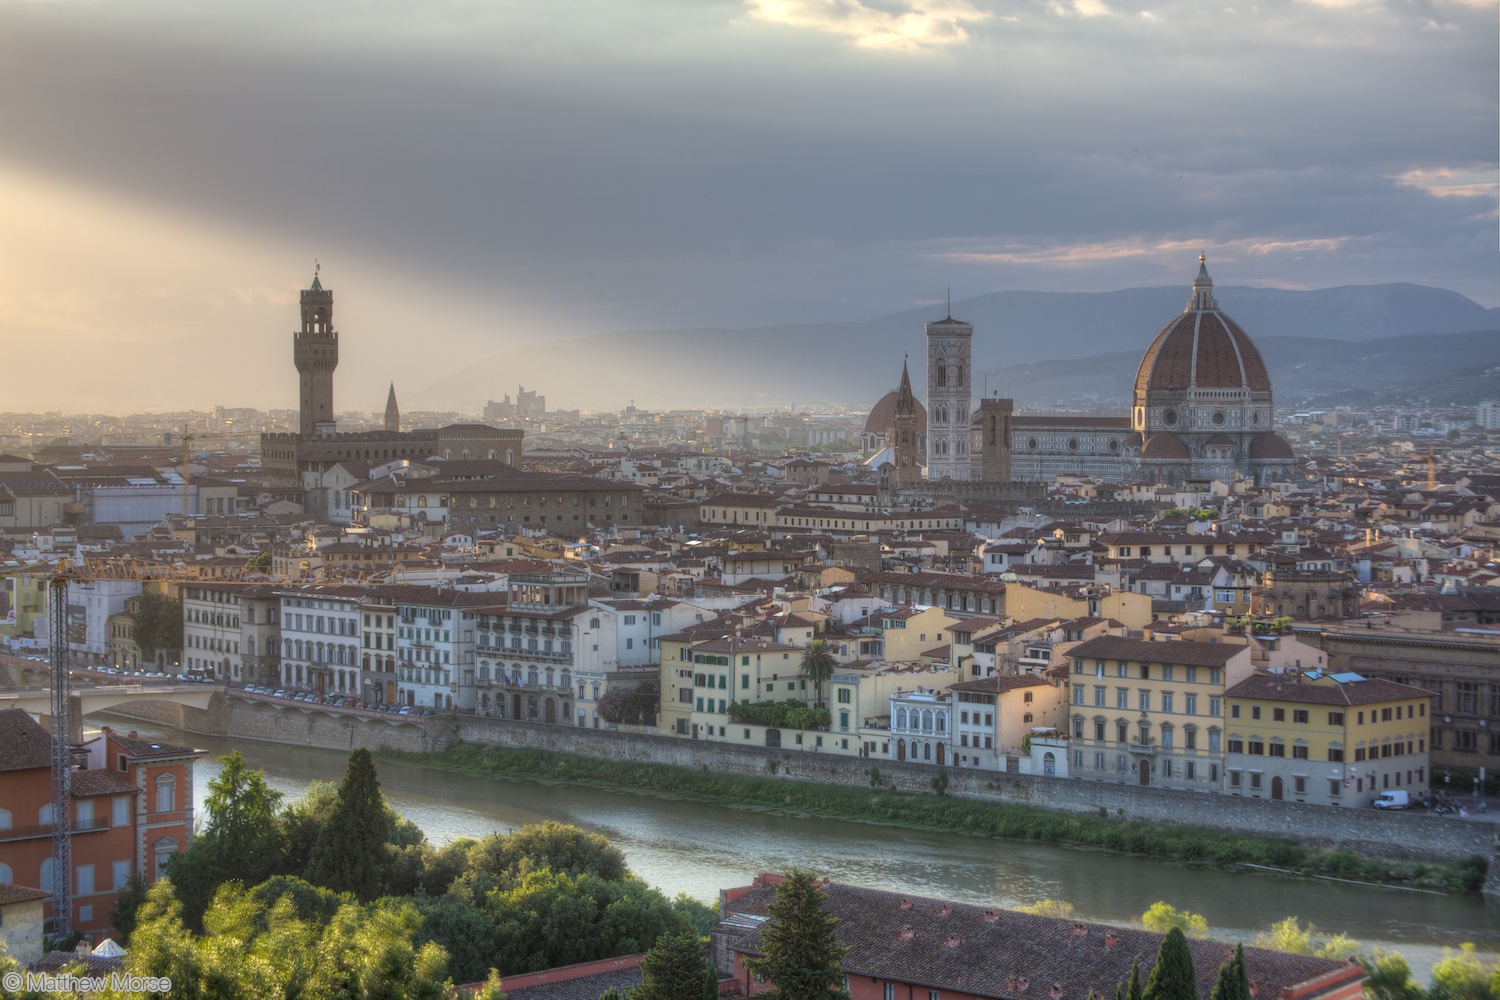
Introduction to HDR (Part 2—dSLR & Desktop)
HDR is one of the oft-used but seldom-understood photography modes. In my part 1 of this post, I outlined an introduction to HDR and explained how to use it on a smartphone (including its merits and quirks). In this post, we’ll talk about in-camera HDR on a full size camera (dSLR or mirrorless), and using a Desktop application.
dSLR/Mirrorless HDR
When I refer to HDR on a full size camera, I’m referring to recent cameras that provide an in-camera mode to create HDR images. Like similar modes on smartphones, this function instructs your camera to take several images in rapid succession at different exposures, then combine the properly exposed light and dark areas all into one image.


Unfortunately, this mode isn’t as polished and seamless on DSLRs, at least in my experience (for reference, I use a Canon 5D Mk III and have used the feature on a few other models). The camera takes noticeably longer to capture the images, the final product is good but not great, and the resulting image is often cropped.
The image crop is usually a product of the longer time required to capture the initial images — if you’re handholding the camera, you’re more likely to move it, so the camera has to crop and only use portions that were captured in each exposure. That said, I’ve noticed cropping on images with minimal movement or even those taken on a tripod.
I expect in-camera HDR to improve in the generations ahead, but for now, I’ve yet to really be wowed by it. This is especially true given that in-camera HDR images often demand some level of in-computer post processing/editing anyway, and given that desktop HDR tools are much better, I often find myself just opting for those.
Desktop HDR Tools
Desktop software for creating HDR images has been around for some years now. Like the smartphone and DSLR modes, the desktop software analyzes a series of differently exposed photos and uses the best exposures for each area to create a final image. Unlike their in-camera counterparts, desktop tools offer far more power and flexibility.


Much of this extra flexibility is thanks to the sheer processing power available in a personal computer compared to a camera. These machines also lend themselves to more options and tweaks thanks to a better and more complex user input system — I don’t know about you, but fine-tuning twenty different options using my Canon’s scroll wheel sounds like sheer torture.
These additional options include the ability to reduce noise (and selected under which circumstances noise reduction is used), subject movement correction (useful if your image includes movement like animals in action), perspective correction, and more. It also gives you the ability to select which images to combine after the fact, whereas in-camera options are mostly limited to an all-or-nothing use of one “burst” of exposures.
I should note, especially with higher resolution cameras, that this HDR stitching process is very hardware-intensive. If you’re using an older machine (especially on consumer-oriented models with mid-line processors & graphics cards, like mine), then consider shutting down other major programs before starting out. This also may limit the number of images you can combine — although my program supports more, I’m often limited to four exposures before I hit a wall with memory and processor capabilities.
There are many fine options out there, but my personal favorite is Photomatix HDR, which also offers plug-ins to your DAM program. Other programs may offer different functionality or flexibility.
One final note, I highly recommend use of a tripod in cases where you know you’ll want to create HDR images. In cases where a tripod isn’t possible, I suggest zooming out to give an extra cushion in your images for potential cropping.
Wrapping Up
HDR is, in my opinion, one of the coolest and most useful photography techniques. With it, I’ve created images that people describe as “surreal”, “like a painting”, and “out of a fairy tale”. I love the effect as well, and it really helps to capture dynamic scenes the way you remember them, with rich depth and detail, rather than big splotches of washed-out white areas or shadows without detail.
Best of all, modern photography technology has quite literally put this capability into the palm of your hand, with HDR now standard even on many entry-level smartphones. Go back 15 to 20 years ago, and the same results would’ve required hours in the darkroom (not to mention a lot of skill).
Hopefully this introduction and explanation of HDR has been useful for your future endeavors! If I’ve left anything out or if you have any questions, please hit me up in the comments!
More like this
- Tip
- Tip
- Tip
- Tip
- Store
