Introduction to HDR (Part 1—Mobile)
If there’s one smartphone photography question I’ve received more than any other, it's “What is this HDR thing?”.
What is HDR?
HDR smartphone imaging simplified a process that photographers have been doing for years. Originally introduced back in iOS 4 (iOS 9 was just recently released), the iOS HDR mode, or high dynamic range mode, takes three rapid-succession images: one over exposed, one under exposed, and one at proper exposure. It then picks and chooses which parts of each image look best, and blends them together into a final photo.
Check out this normal and HDR version of the same scene.
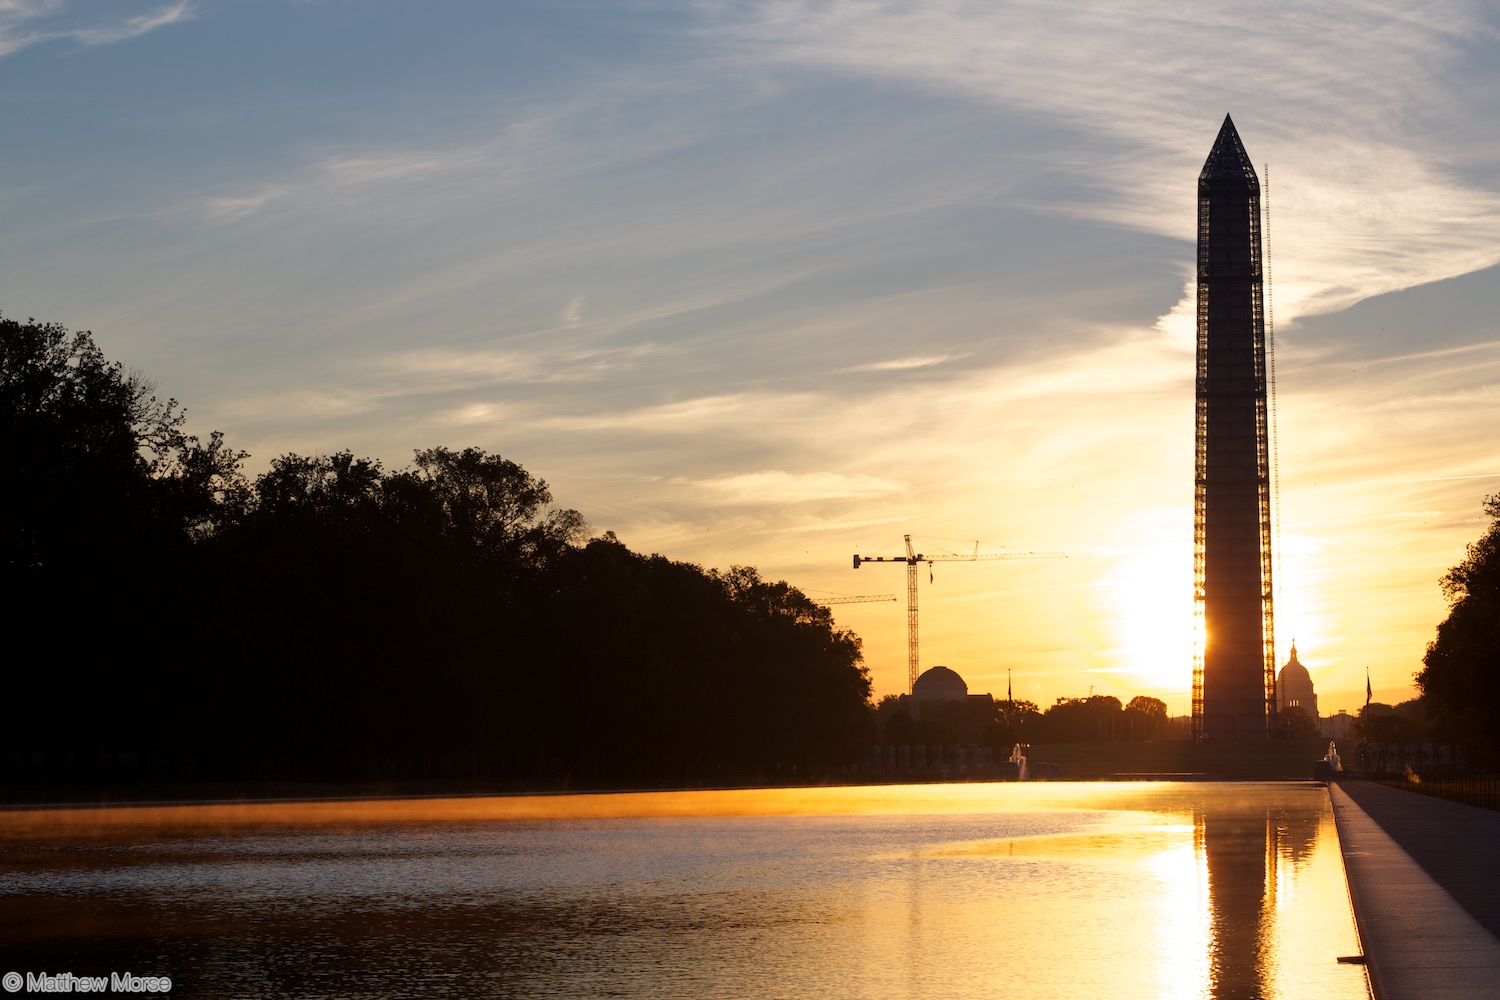
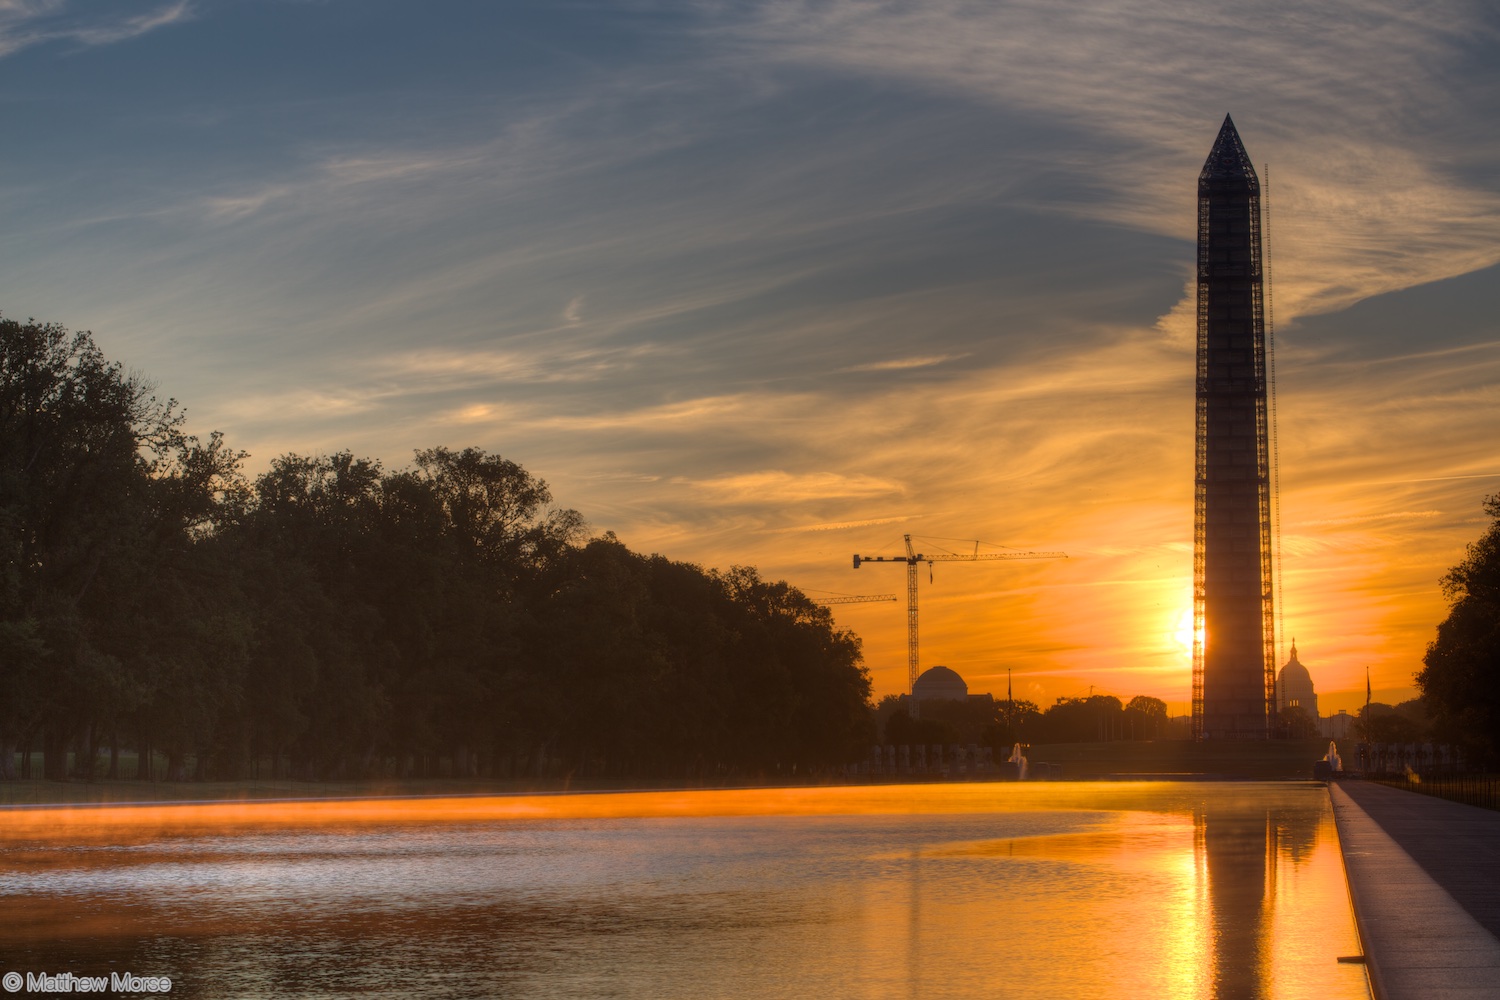
HDR is available on a number of smartphones and cameras, and can also be done manually, as I’ll discuss in Part 2. The mode is most useful in images with extremes of dark and light, especially when you want those portions properly exposed (note: you may want them “properly exposed” if, for example, you want to keep dark shadows or bright spots as washed out as part of your artistic vision for the photo).
How to use HDR on a smartphone
On iOS, the use of HDR has evolved over the past five or so releases that have offered the feature. Originally, HDR was something entirely left to the operator to toggle on or off, then would create two images, one with normal exposure, and one using HDR. When viewing the images with the Camera or Photos apps, a small “HDR” badge will tell you which image used the feature.
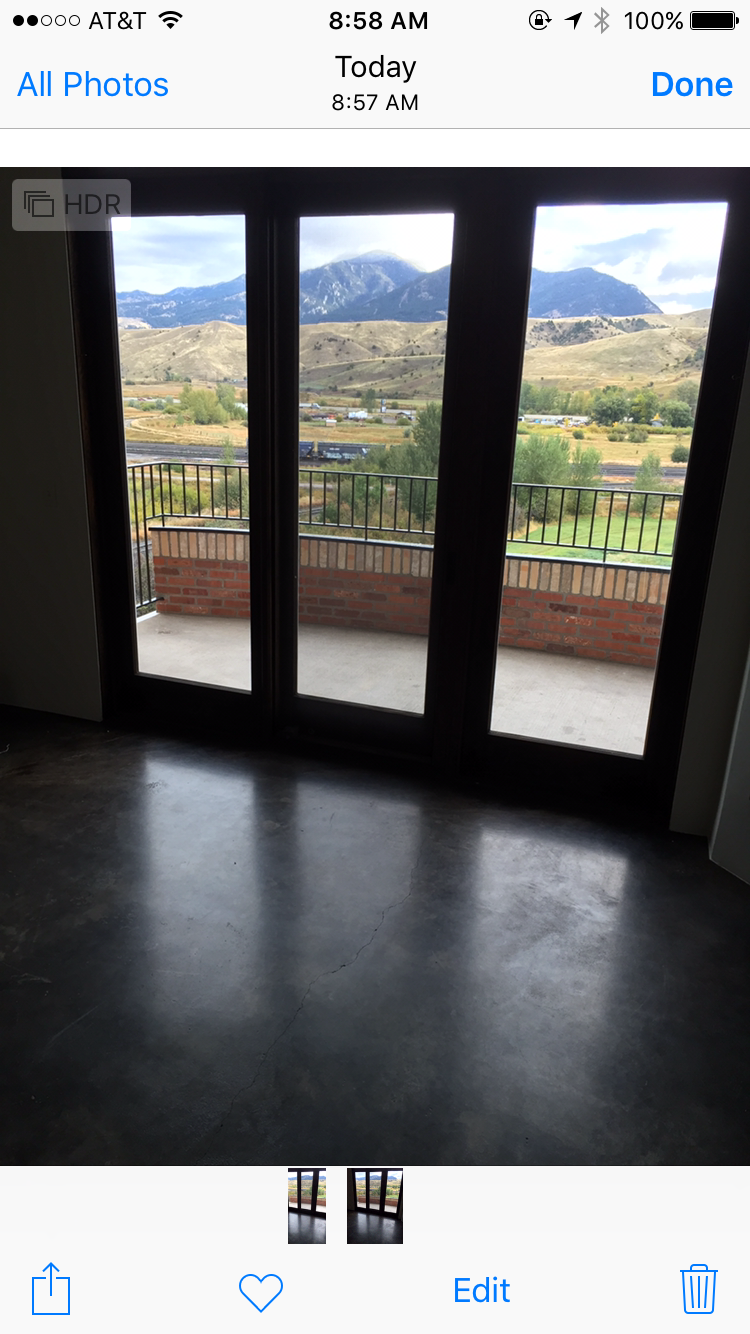 In the iOS Photos app, an upper-left “HDR” badge identifies the photos that utilized the feature.
More recently, Apple has added an “Auto HDR” option, that will evaluate the scene and choose based on the relative dynamic range of the image whether it would benefit from HDR. A small, yellow “HDR” logo will pop up when in use, then create two images as described above. The ability to have HDR always on or always off still exists as well.
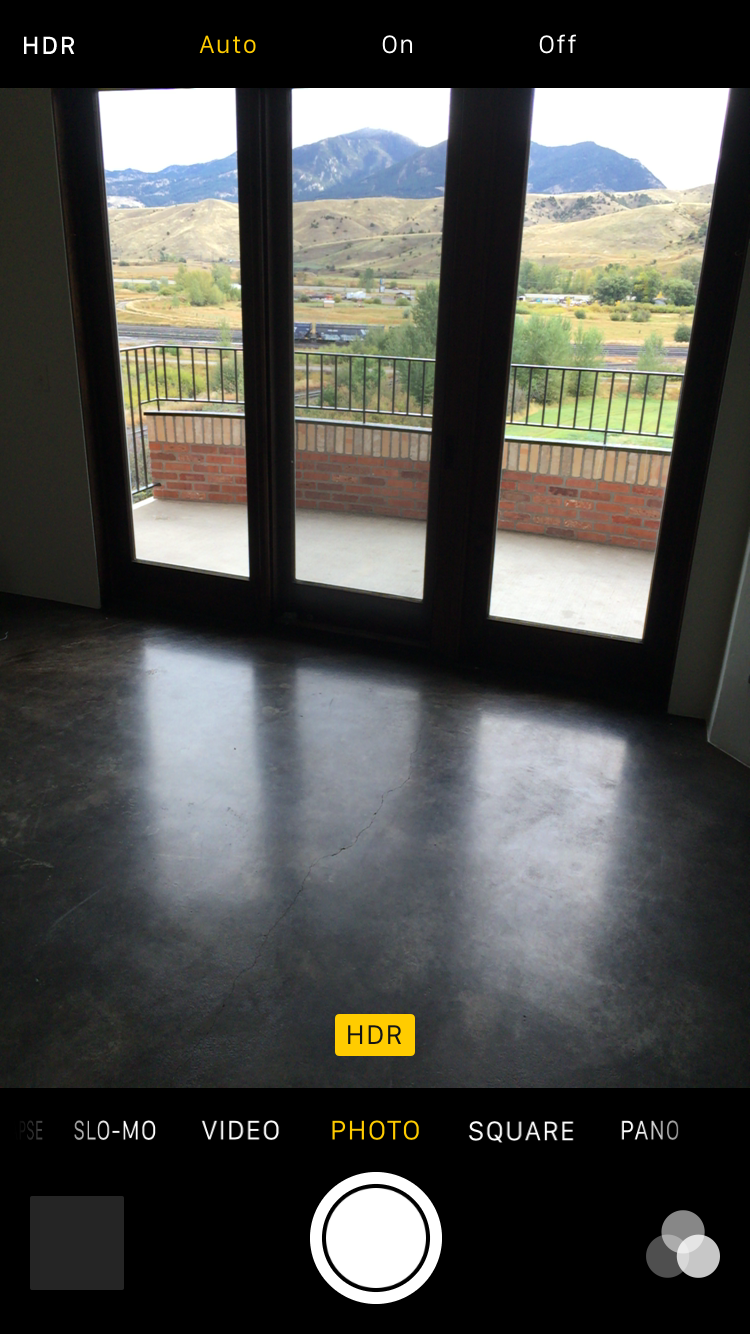 Along the top, the HDR menu has been opened with Auto HDR selected. At the bottom, a yellow “HDR” icon indicates that the Auto HDR feature has detected a dynamic scene and turned on HDR for this photo.
(You can also disable saving of the “normal” picture if you want on iOS, by going to Settings > Photos & Camera and at the very bottom, toggling off Keep Normal Photo under HDR.)
I’m no Android expert, but a quick search revealed that the feature is also available on many, if not all, flagship Android models as well.
Although HDR in smartphones has gotten pretty seamless, I recommend holding the phone as still as possible for a second longer than you normally would, especially with darker scenes. Keep in mind, your phone is taking three photos in rapid succession then doing its best to stitch them together. If you move your phone, this creates disparities between the photos, making it difficult to properly align and adjust the final shot.
I sound like an old-timer when I say this, but the advent of this level of HDR technology is a huge leap forward in a consumer’s ability to capture great images. Just 10-15 years ago, getting this type of a properly exposed dynamic image would’ve required considerable time (and skill) in the darkroom. These are good times.
To HDR or not to HDR?
The preference of whether to use HDR is largely a personal one. That said, the fact that two images are produced: one normal and one HDR, you have little to lose (other than storage space) if you’re unsure or ultimately choose the standard image. I’ve found iOS’s Auto HDR to be generally pretty good at predicting when to use HDR, but there have been a few cases that it hasn’t turned on HDR when needed, requiring some manual intervention on my part.
Generally, I recommend keeping HDR in Auto, although if you know you’re shooting highly dynamic scenes, or if you’re shooting a once-in-a-lifetime event like a wedding or major trip, then I suggest leaving it on for the duration. This keeps you from fiddling with settings at an inopportune moment and also ensures you have the best odds at getting the perfect shot! Once your event is over, you can turn it back to Auto, then sift through your pairs of photos to chose your favorites.
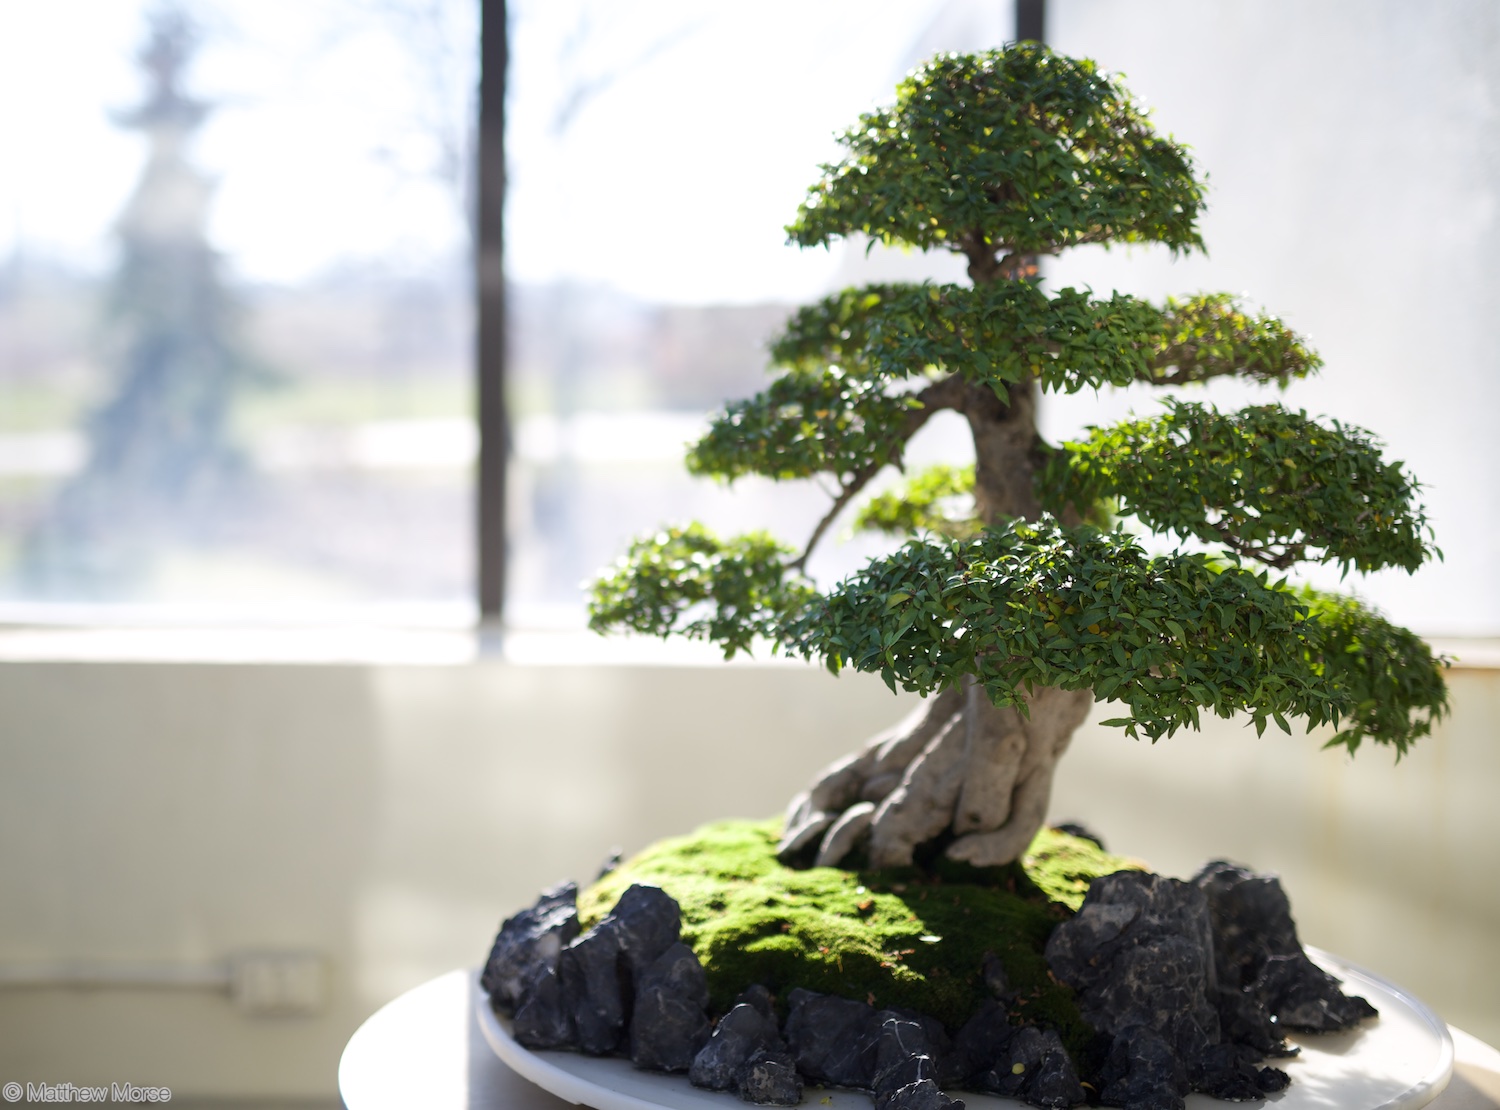 An example of an image that (in my opinion) wouldn’t benefit from HDR. I think the blown-out highlights of the background help to keep focus on the subject.
As mentioned earlier, you may prefer non-HDR in photos with irregular lighting & where you’re using extreme darkness or brightness for special effect.
Next time
In my next post, I’ll discuss the use of HDR via desktop software, as well as HDR capabilities offered by DSLR cameras.
