A “First Look” at Macphun Aurora HDR Pro
By PhotoJoseph
January 16, 2016 - 6:09am
Macphun Aurora HDR Pro
This was a very impromptu “first look” (watch the video and you'll see why that's in quotes!) of Macphun's Aurora HDR Pro. It's a fun app and at least for some photos, beautiful results were easy to come by. I've posted the outputs of each photo I played with live, below.
(The weird stutter is a frame rate mismatch in the recording; fixed for next time)
Samples photos from the video
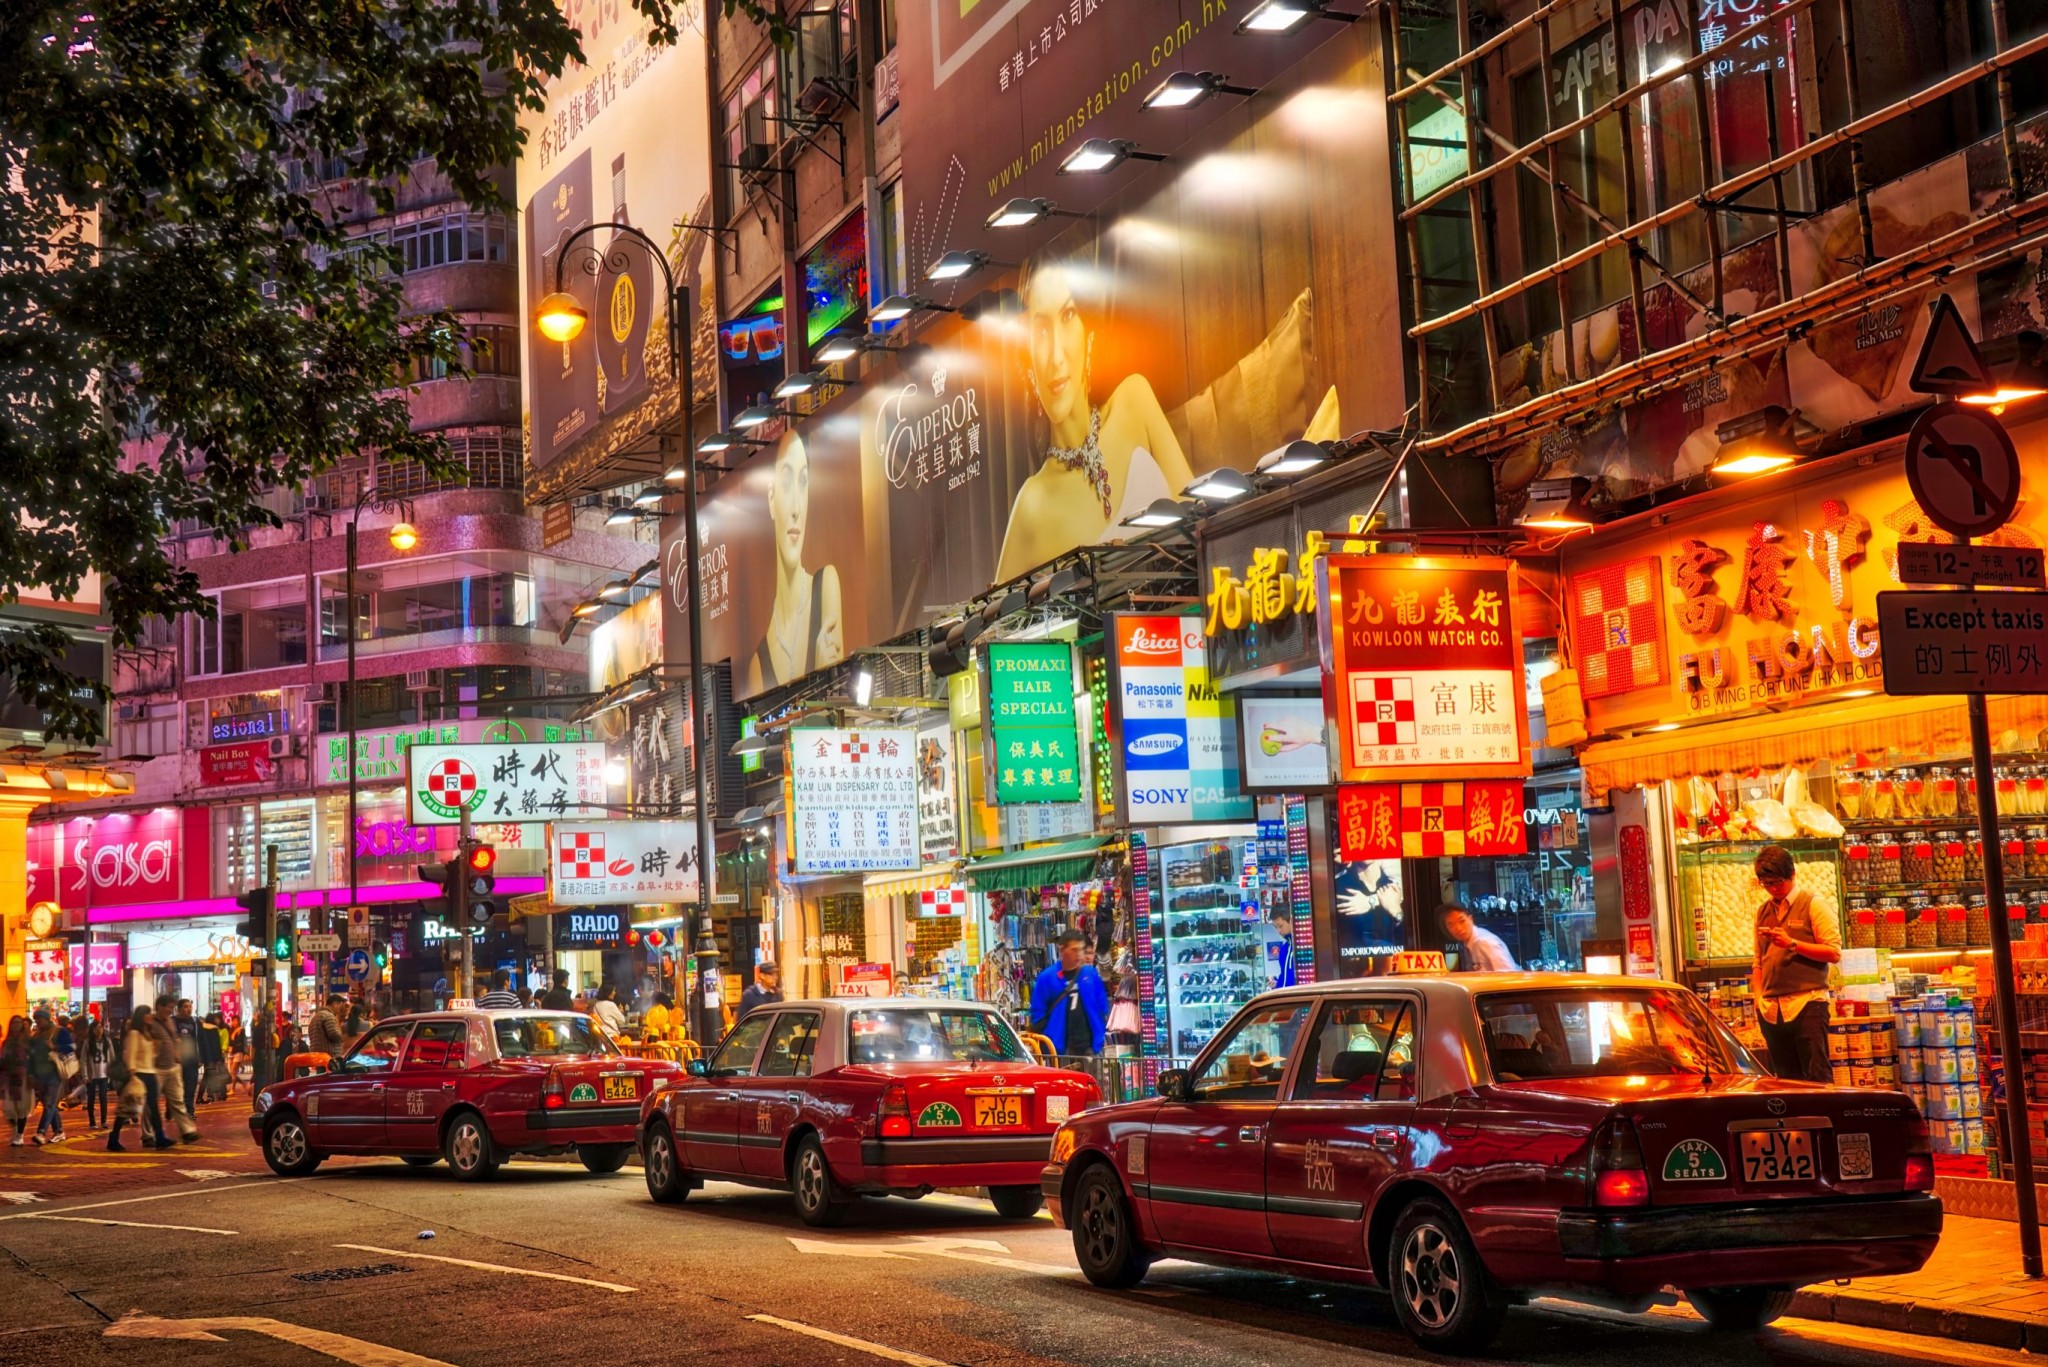
 From three Sony JPEG files
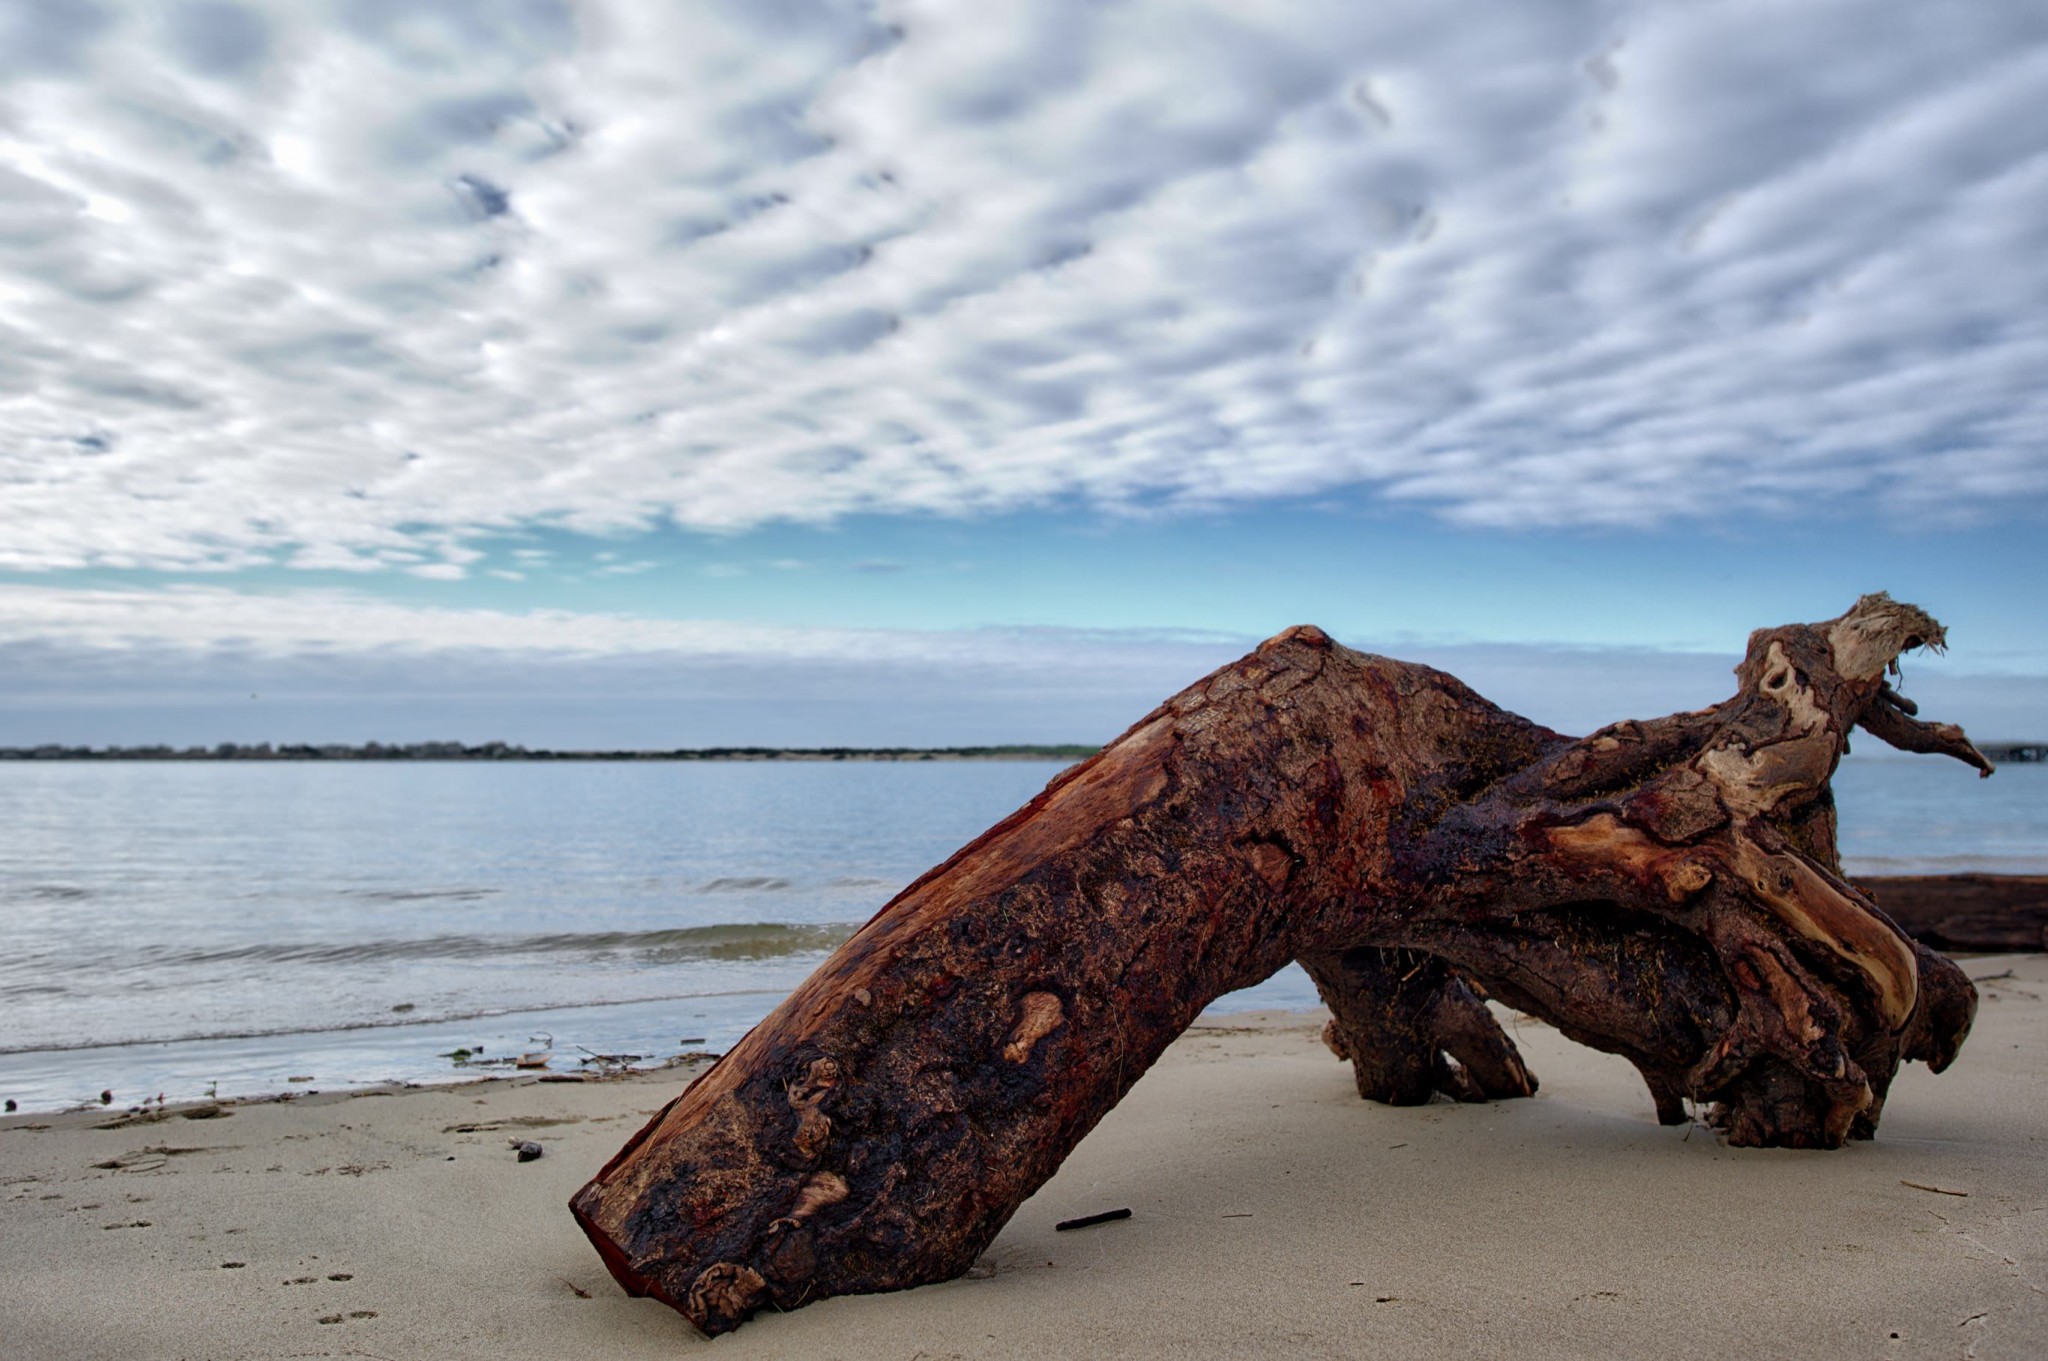
 From five LUMIX GH4 RAW files
 From seven LUMIX GH4 RAW files
 From three Leica S3 RAW files

Comments
on January 16, 2016 - 12:00pm
Hi Joseph,
Thanks for the video.
I had difficulties with the sound levels. I used maximum output levels but the sound was still a bit too faint.
Another thing I am wondering when using HDR software is if you can, after aligning and ghosting, save the file in OpenHDR format. Then it is possible to easily do the tone mapping in different HDR software without doing the tedious initial processing again and again.
dagge
on January 16, 2016 - 5:42pm
Dagge,
Scared me for a minute but the levels seem fine from here. Can you try again on a different setup?
regarding OpenHDR; I didn't see that as an option when saving but if you go to their website I'm sure if it's there it'll be listed. Sounds like a pretty significant feature.
@PhotoJoseph
— Have you signed up for the mailing list?
on January 16, 2016 - 5:09pm
Joseph, I believe the created HDR picture opens up with a default setting with the HDR @ +20. I also believe you can use your keyboard [ & ] brackets to decrease and increase the brush size respectively, similar to Lr. To get rid of the right side panel you click on the double arrows in the bottom R hand corner, click on it again and the panel re-appears. Finally, there is a + sign to add the layer and next to it is a - sign to delete it. Cheers. Nice first go round and the recording session is getting better. Let’s hope you’re ready for prime time real soon. I think I speak for most of your followers in that we are missing your tutorials!
Florian
Florian Cortese
www.fotosbyflorian.com
on January 16, 2016 - 5:45pm
Thanks for the tips Florian!
How do the audio levels sound to you? Dagge is reporting it's too low but levels seem fine here.
Video stutters because I inadvertently captured at 30fps instead of 29.97. Oops!
@PhotoJoseph
— Have you signed up for the mailing list?
on January 16, 2016 - 5:50pm
Joseph, Audio was loud and clear!
Florian
Florian Cortese
www.fotosbyflorian.com
on January 16, 2016 - 6:39pm
Thanks for the video.
You did mention luminosity masking and you pointed to a site which i haven't looked at yet. To get a more realistic effect, you can you load your brackets into Photoshop CC or Affinity Photo. Use Photoshop's blend-if or Affinity Photo's blend-range between layers based on luminosity. This will allow you to add a layer mask which you can manipulate with a brush.
Robert Ke
twitter: rke21
also at:
instagram: rke21
facebook: outdoorphotographynow
on January 18, 2016 - 10:41am
Hey Joseph, thanks for such an in-depth video review of Aurora HDR Pro!
Looking forward to seeing more of your great shots:)
Guys, in case you have any questions or concerns - you’re more than welcome to contact us via support@aurorahdr.com.
Alina from Macphun