How to Create Desktop HDR Images
In my two most recent posts [part 1 & part 2], I’ve covered an introduction to high dynamic range (HDR) photography, with separate discussions on the merits and applications of HDR using both smartphones and dSLR or dSLM (mirrorless) cameras.
If you’re curious about what HDR is or how to use it, I suggest jumping back and starting with those, as we discuss using HDR modes on both smartphones and full size cameras. In this post, I’ll discuss how to create HDR images, with a special focus on desktop-processed images using my preferred tool, Photomatix. It's easy to use, creates beautiful images, and easily fits into my workflow.
There are several desktop-based HDR tools available, many with similar features and tools. Photomatix, like many others, offers a stand-alone tool as well as a plug-in for various third part programs, including Lightroom, Photoshop Essentials, and Aperture. My current workflow utilizes the Aperture plug-in (yes, I know, I’m still hanging on to Aperture with a cold death-grip), so my screenshots and descriptions will refer to that version, but will generally be similar, be it to another version of Photomatix or another HDR tool entirely.
Capturing for HDR
As with any aspect of photography, the best way to get great HDR images is by starting with a good original exposure. For HDR, it’s especially useful to have a tripod, so all of your exposures are stable and stationary, with little to no movement of the camera between shots.
I use a custom setting programmed on my dLSR specifically for capturing HDR-ready images, which uses a 2 second timer, locks up the mirror, and makes a total of seven exposures at one stop increments (1 properly exposed image, 3 overexposed, 3 underexposed). This is almost certainly gross overkill on my part, as I rarely use the most over and underexposed images, but storage is cheap, and better safe than sorry.
Processing multiple exposures
Once you’ve imported images into your DAM program of choice, it’s time to get to work. One of my first steps is to automatically group together all of the images used in each individual burst. Otherwise your workspace is just a slew of bright and dark images crammed onto your screen, and it's sometimes tough to know which images below in which group. Aperture calls these stacks and the “auto-stack” is the option to group images together based on exposure time, and I’m sure Lightroom and Capture One have similar options.
Before doing anything else, I recommend diving right into your HDR software. While this may be counter-intuitive for those accustomed to doing post-processing for contrast, exposure, saturation, brightness, etc. right out of the gate, many (if not all) of these qualities will change and improve once the the HDR image is created, so I suggest creating that image first, then editing and tweaking it in your tool of choice.
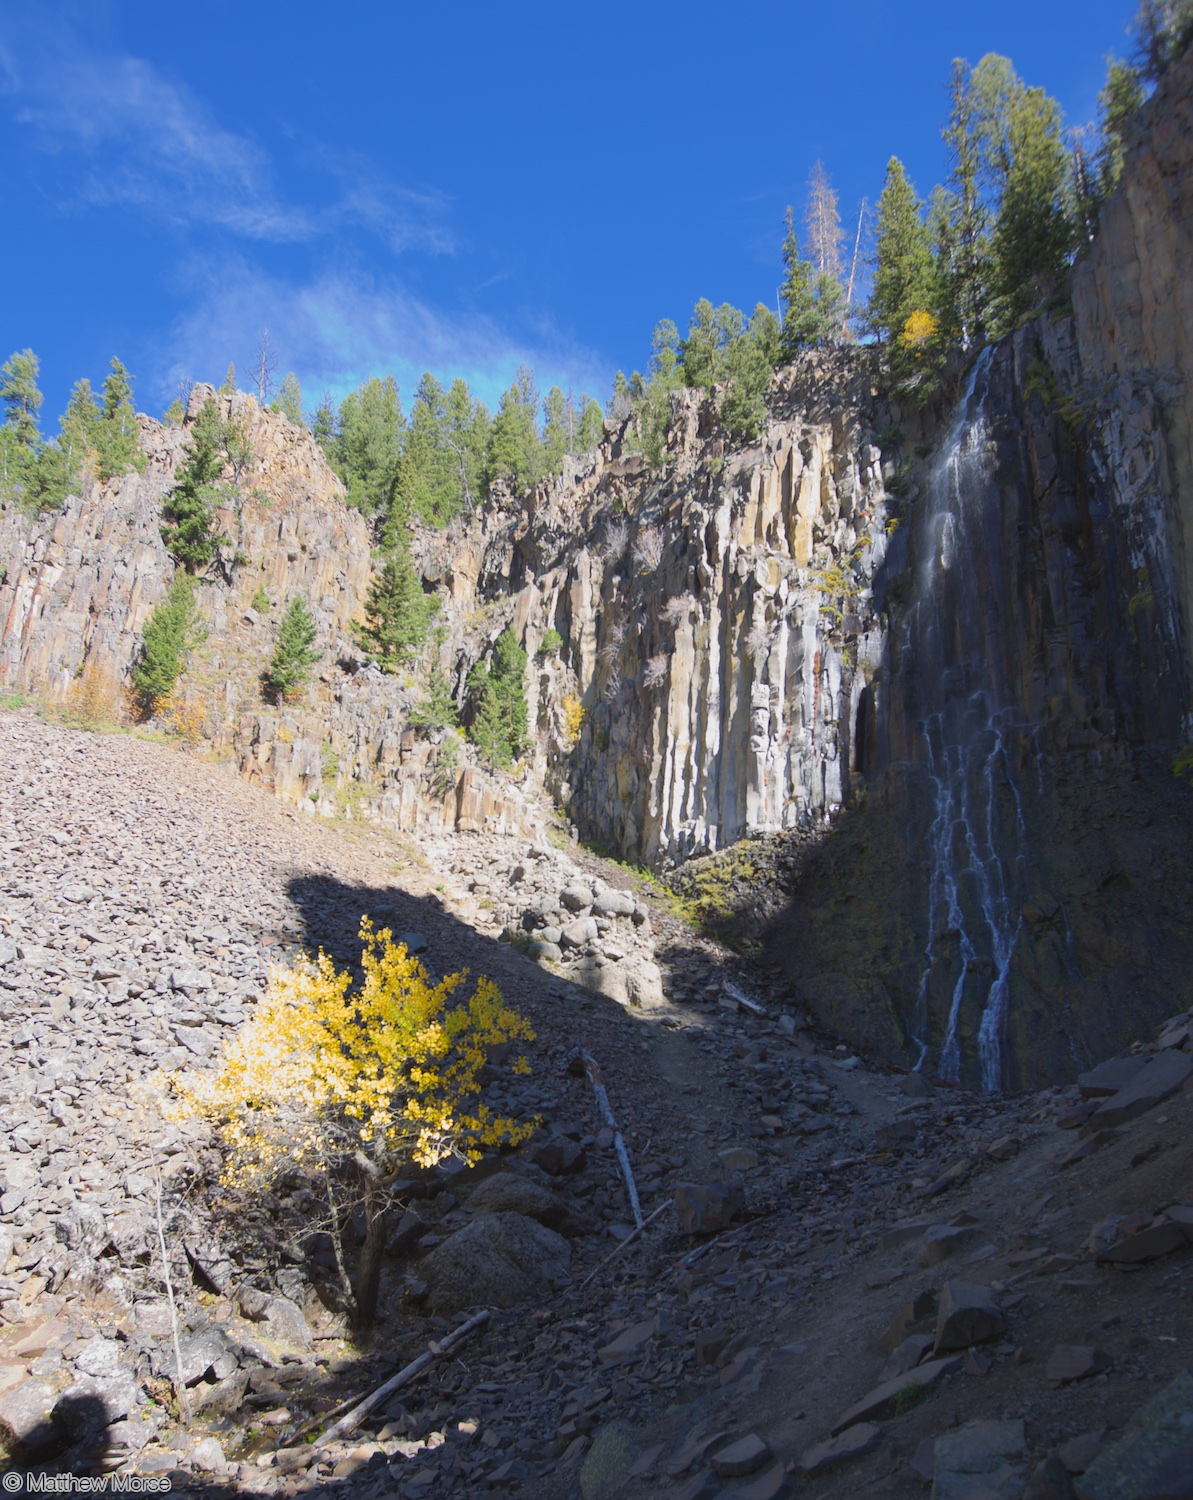
With that in mind, select the exposures you want to blend, including the middle “properly” exposed shot. To decide which images to use, look at each one for details that may be properly exposed in that frame that is not in others; i.e. bright clouds, dark shadows, neon lights, etc. If an image is so bright or dark that it includes nothing of value, then don't include it in the HDR composite. You'll want to include at least one underexposed and one overexposed image, and picking the right exposures to include is as much a technical decisions as it is an artistic one. You can select as many photos as you like, but in most cases, many beyond three or four that and you’ll hit a point of diminishing returns, especially given that processing times and reliability tend to rapidly decrease as you toss more images into the mix.
Select the files you'll work with, and send or open those to Photomatix (or your HDR editor of choice).
Polishing and finalizing your image
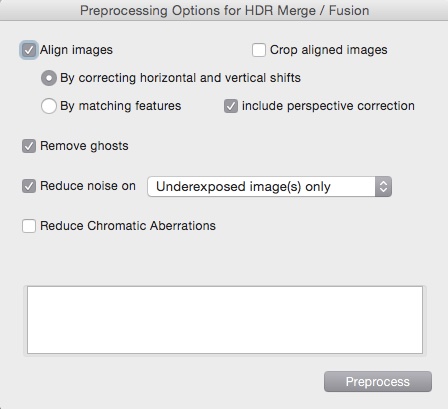
 A variety of preprocessing options are available to tweak how the images will be merged
Before rendering your image, you’ll have the ability to customize a few options for the final product, including things like noise reduction, ghost reduction (for moving subjects in the image), and perceptive and movement correction. Once you’ve made your selection, you can begin processing the image.
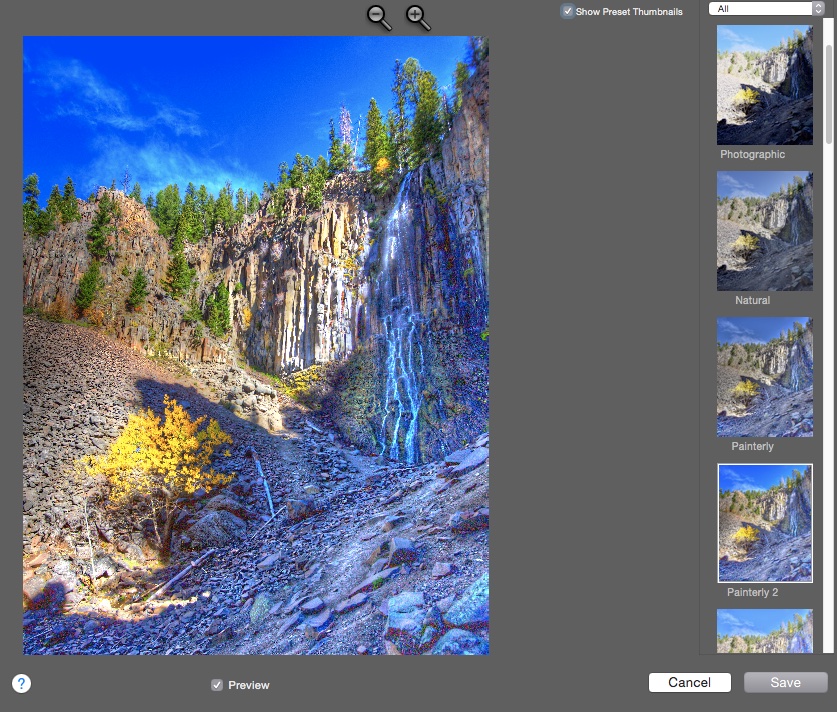
 Photomatix for Aperture preview window
My processed HDR image is displayed as a preview with a variety of artistic filters and treatments available. The vast majority of the time, I select the default setting, but it’s fun to play with the various options and see what’s available. You can also make fine-tuned adjustments to the image itself, but I often find they look great as is, especially since the whole point of HDR is to get the best exposure, contrast, and dynamic range (even if not, I prefer to wait and apply the changes inside my DAM anyway).
Strength controls the intensity of the HDR effect — if you turn it down, you'll see less detail in over/underexposed areas. Color Saturation has the same effect as Saturation in your average photo suite. Luminosity adjusts the amount of brightness in darker areas, while Detail Contrast increases the contrast within finer details of the image but also tends to increase shadows in your image. Luminosity can be useful to add light back into an image if Detail Contrast adds too much shadow. I've always used Lighting Adjustments very sparingly, as it can drastically alter an image; per Photomatix's own definition, it's used “to control the extent to which the image looks natural or surreal”. You can also select between Details Enhancer, Tone Compressor, and Exposure Fusion to optimize your image for different results — I almost always stick with Details Enhancer.
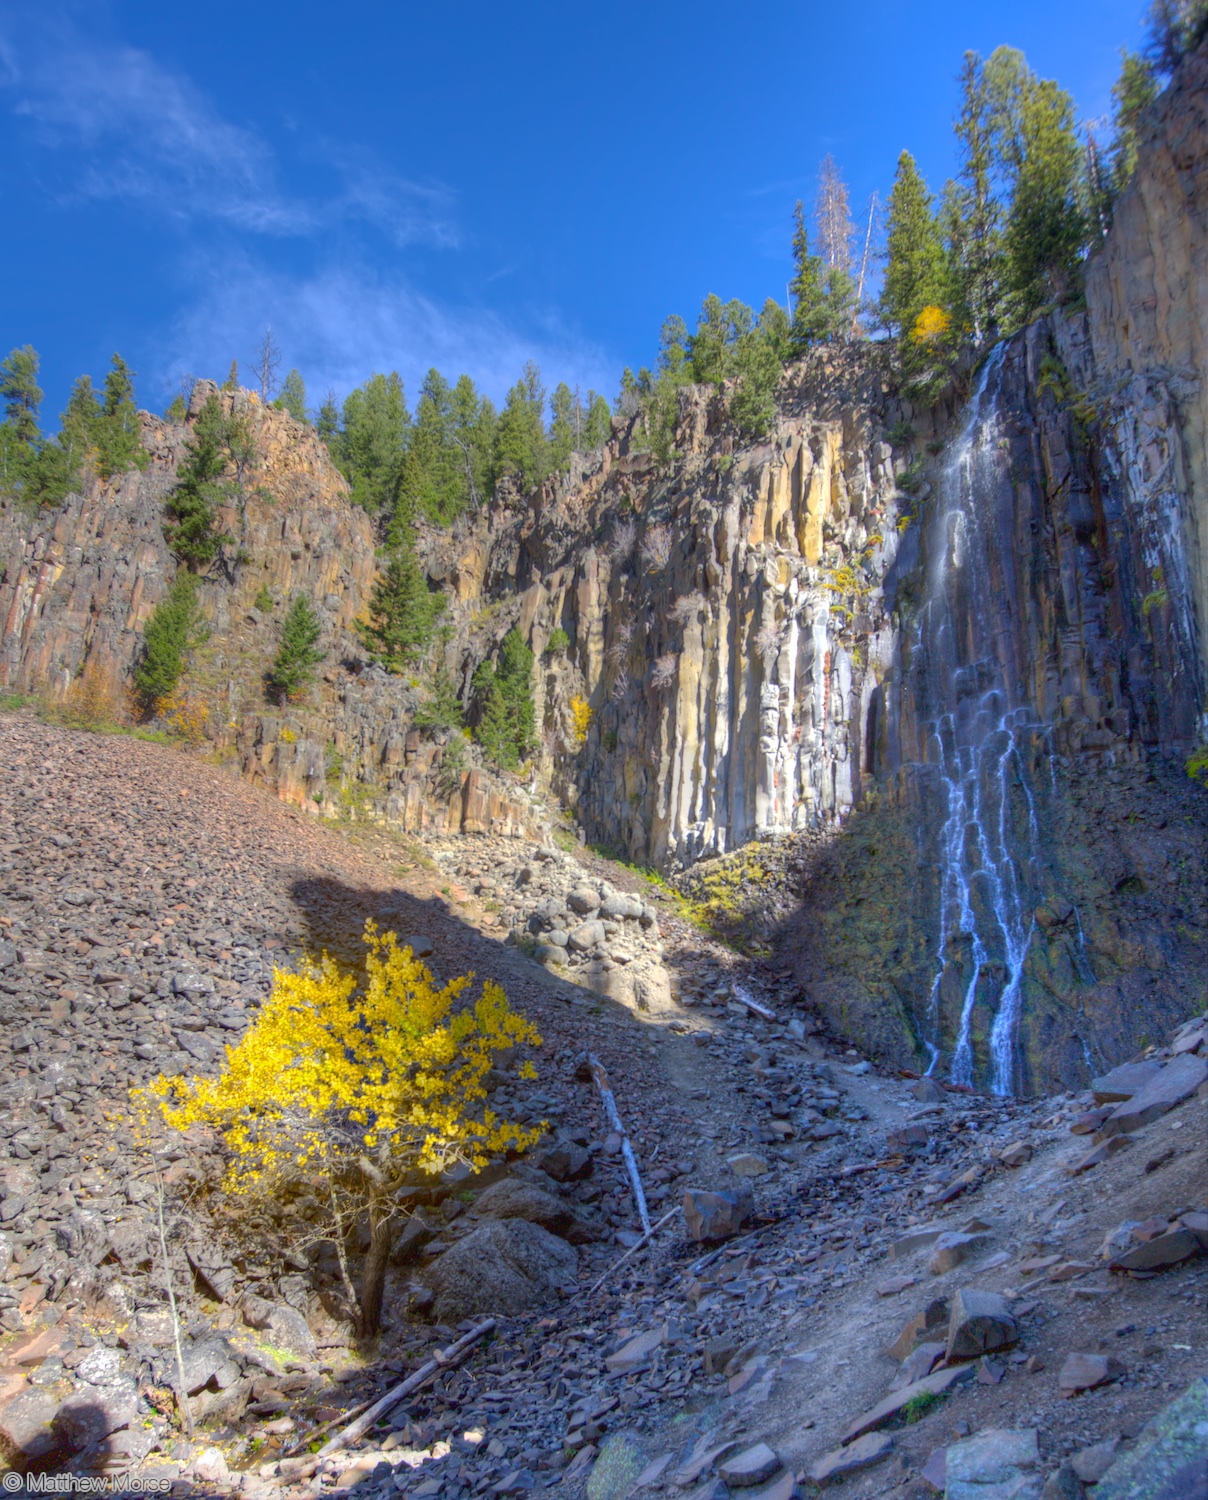
Once you're happy with the image, click Save and the composite will render and drop back into your DAM software.
 Example of a “Painterly” preset treatment available.
As mentioned earlier, it’s usually from there that I’ll make any final adjustments or export the image to Photoshop for more heavy-duty edits such as keystone correction, healing brush, etc.


After that, you're all set! Enjoy and explore the many fun variations of HDR photography — it opens up a door to new, very unique image styles & options.
Get 15% off Photomatix with the coupon code “PhotoAppsExpert”!
